What a brilliant season we've had so far! As we wind down our Summer of Luxe event, we are excited to highlight an inspiring photographer and Luxe Sports user, Donna Schreckengost! When we saw some of her captures it was instant nostalgic joy, we reached out immediately to learn more! Her dynamic sports images are timeless and engaging and we are so excited to share them with you!

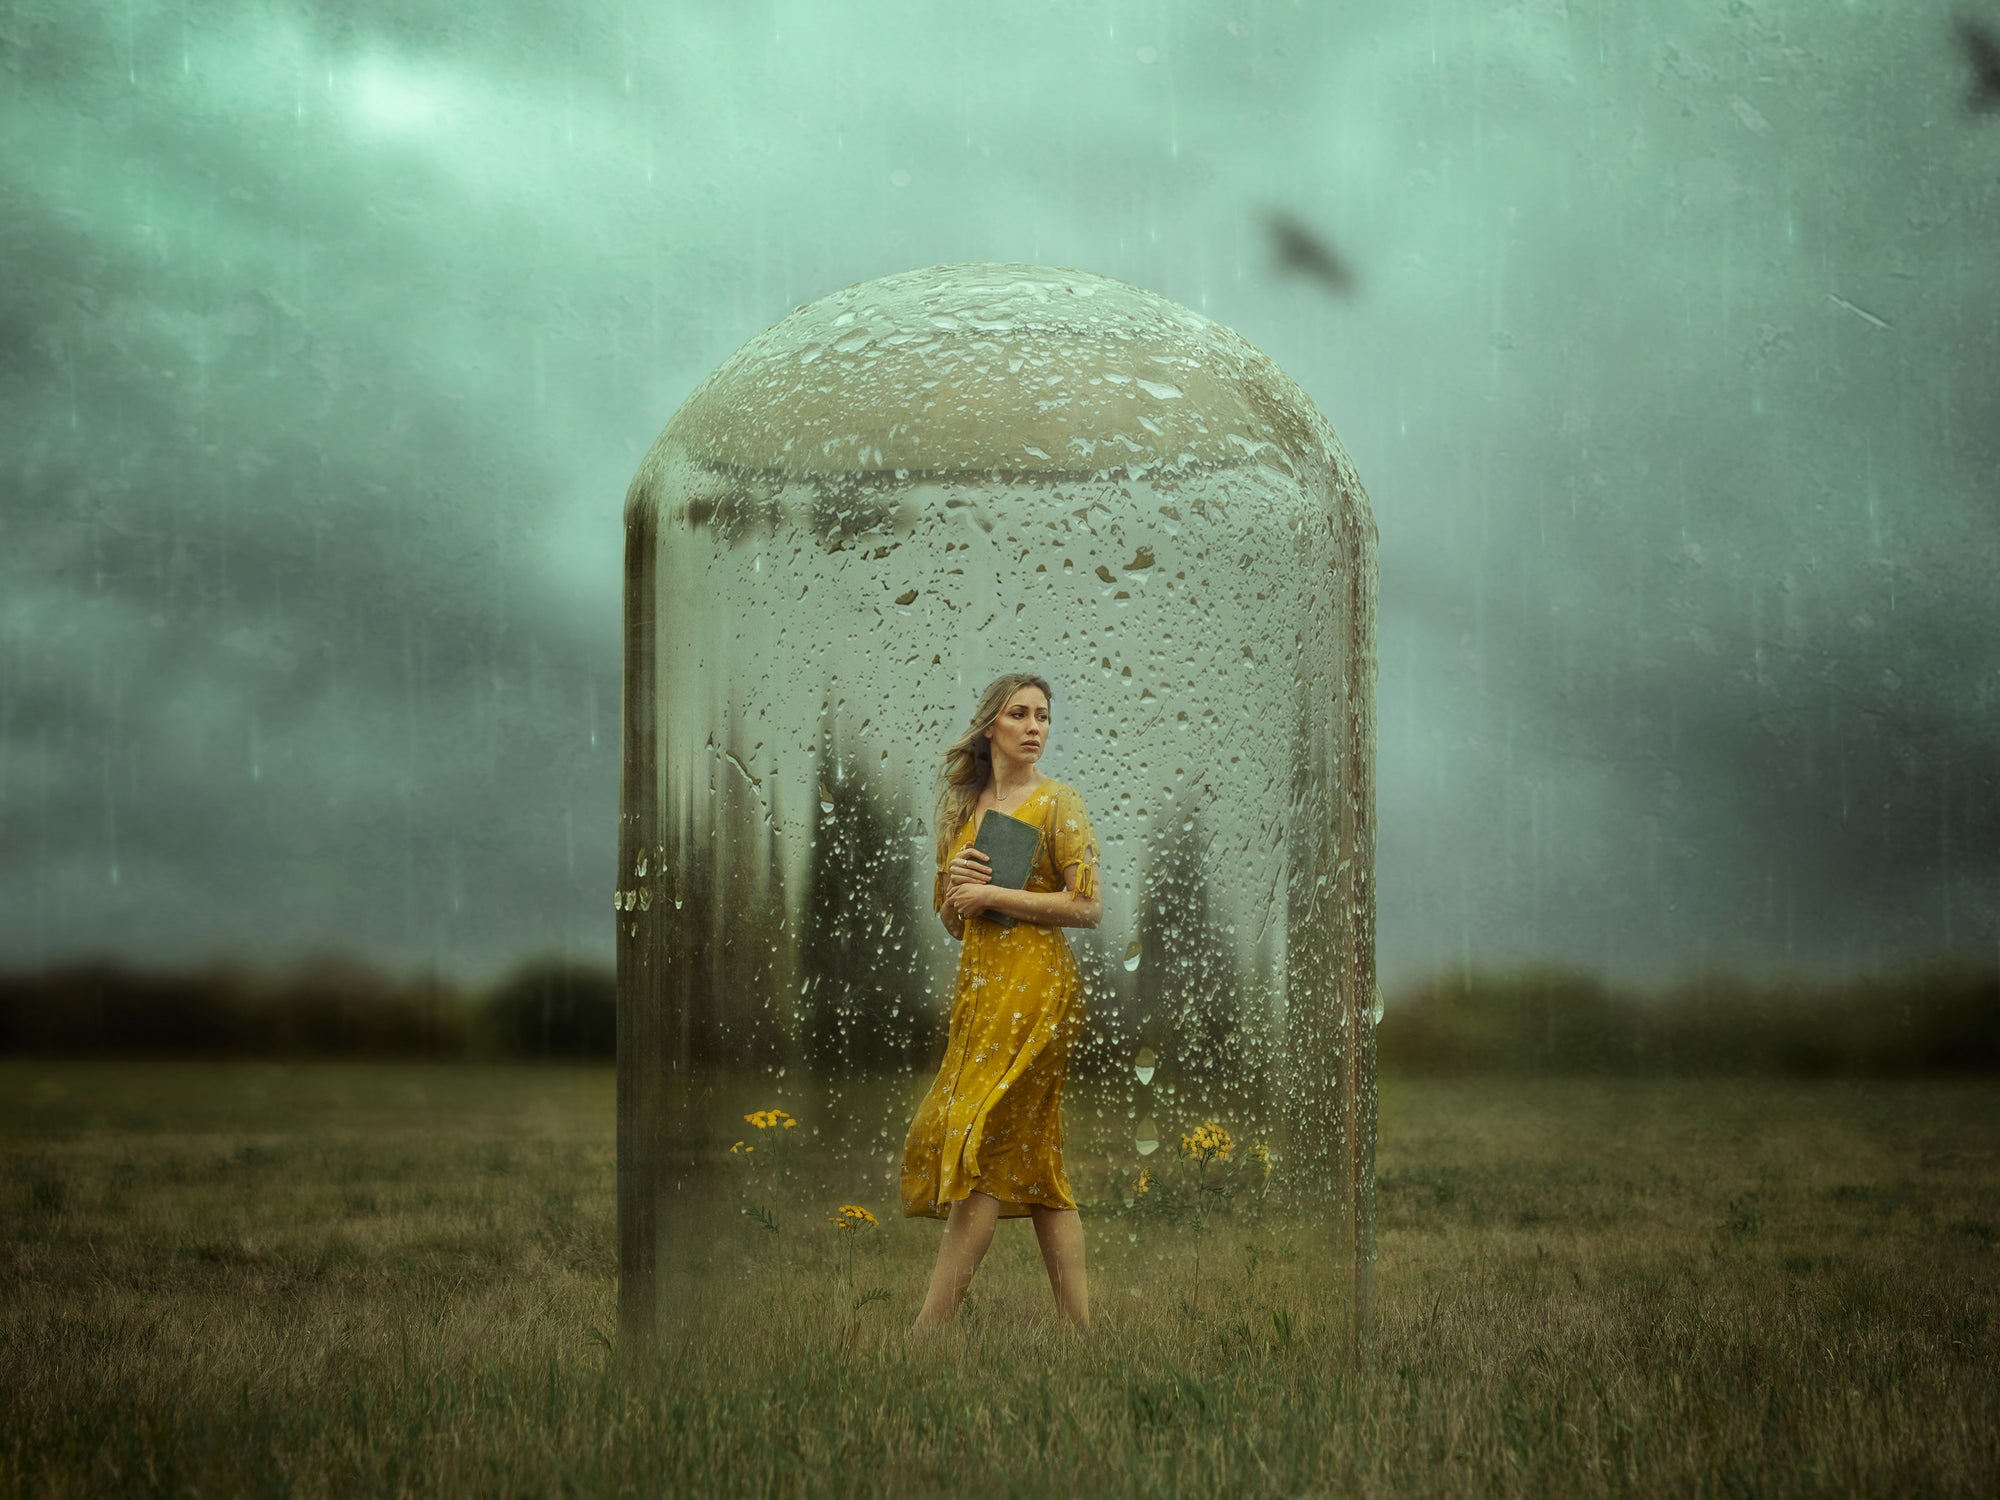
Photoshop Object Selection just got granular with Select Details allowing users at any level to make quick work of masking adjustments to very specific zones!

Hover-to-preview, click-to-apply presets in the Photoshop workspace!? Get excited about Photoshop's Adjustment Presets and unlock ease! Photoshop is now more approachable than ever! Between the super helpful contextual toolbar and the feedback-based optimization of latest features, there is no better time to learn the software or update your workflow!


Despite extensive beta-testing across various skin tones and conditions prior to the release of each and every collection at Luxe, we know it’s not a one-size fits all world. Some vibrant edits may result in red or orange tints to skin or subtle edits may leave skin washed out. These editing issues most often occur within photos shot by smartphones because smartphones (versus a digital camera) capture less light data within an image. They're also more likely to occur when photographers shoot in JPEG vs RAW. But fear not. There's a perfect preset for all tones of skin! This article was created to help you find your perfect fit when editing dark skin tones with presets.


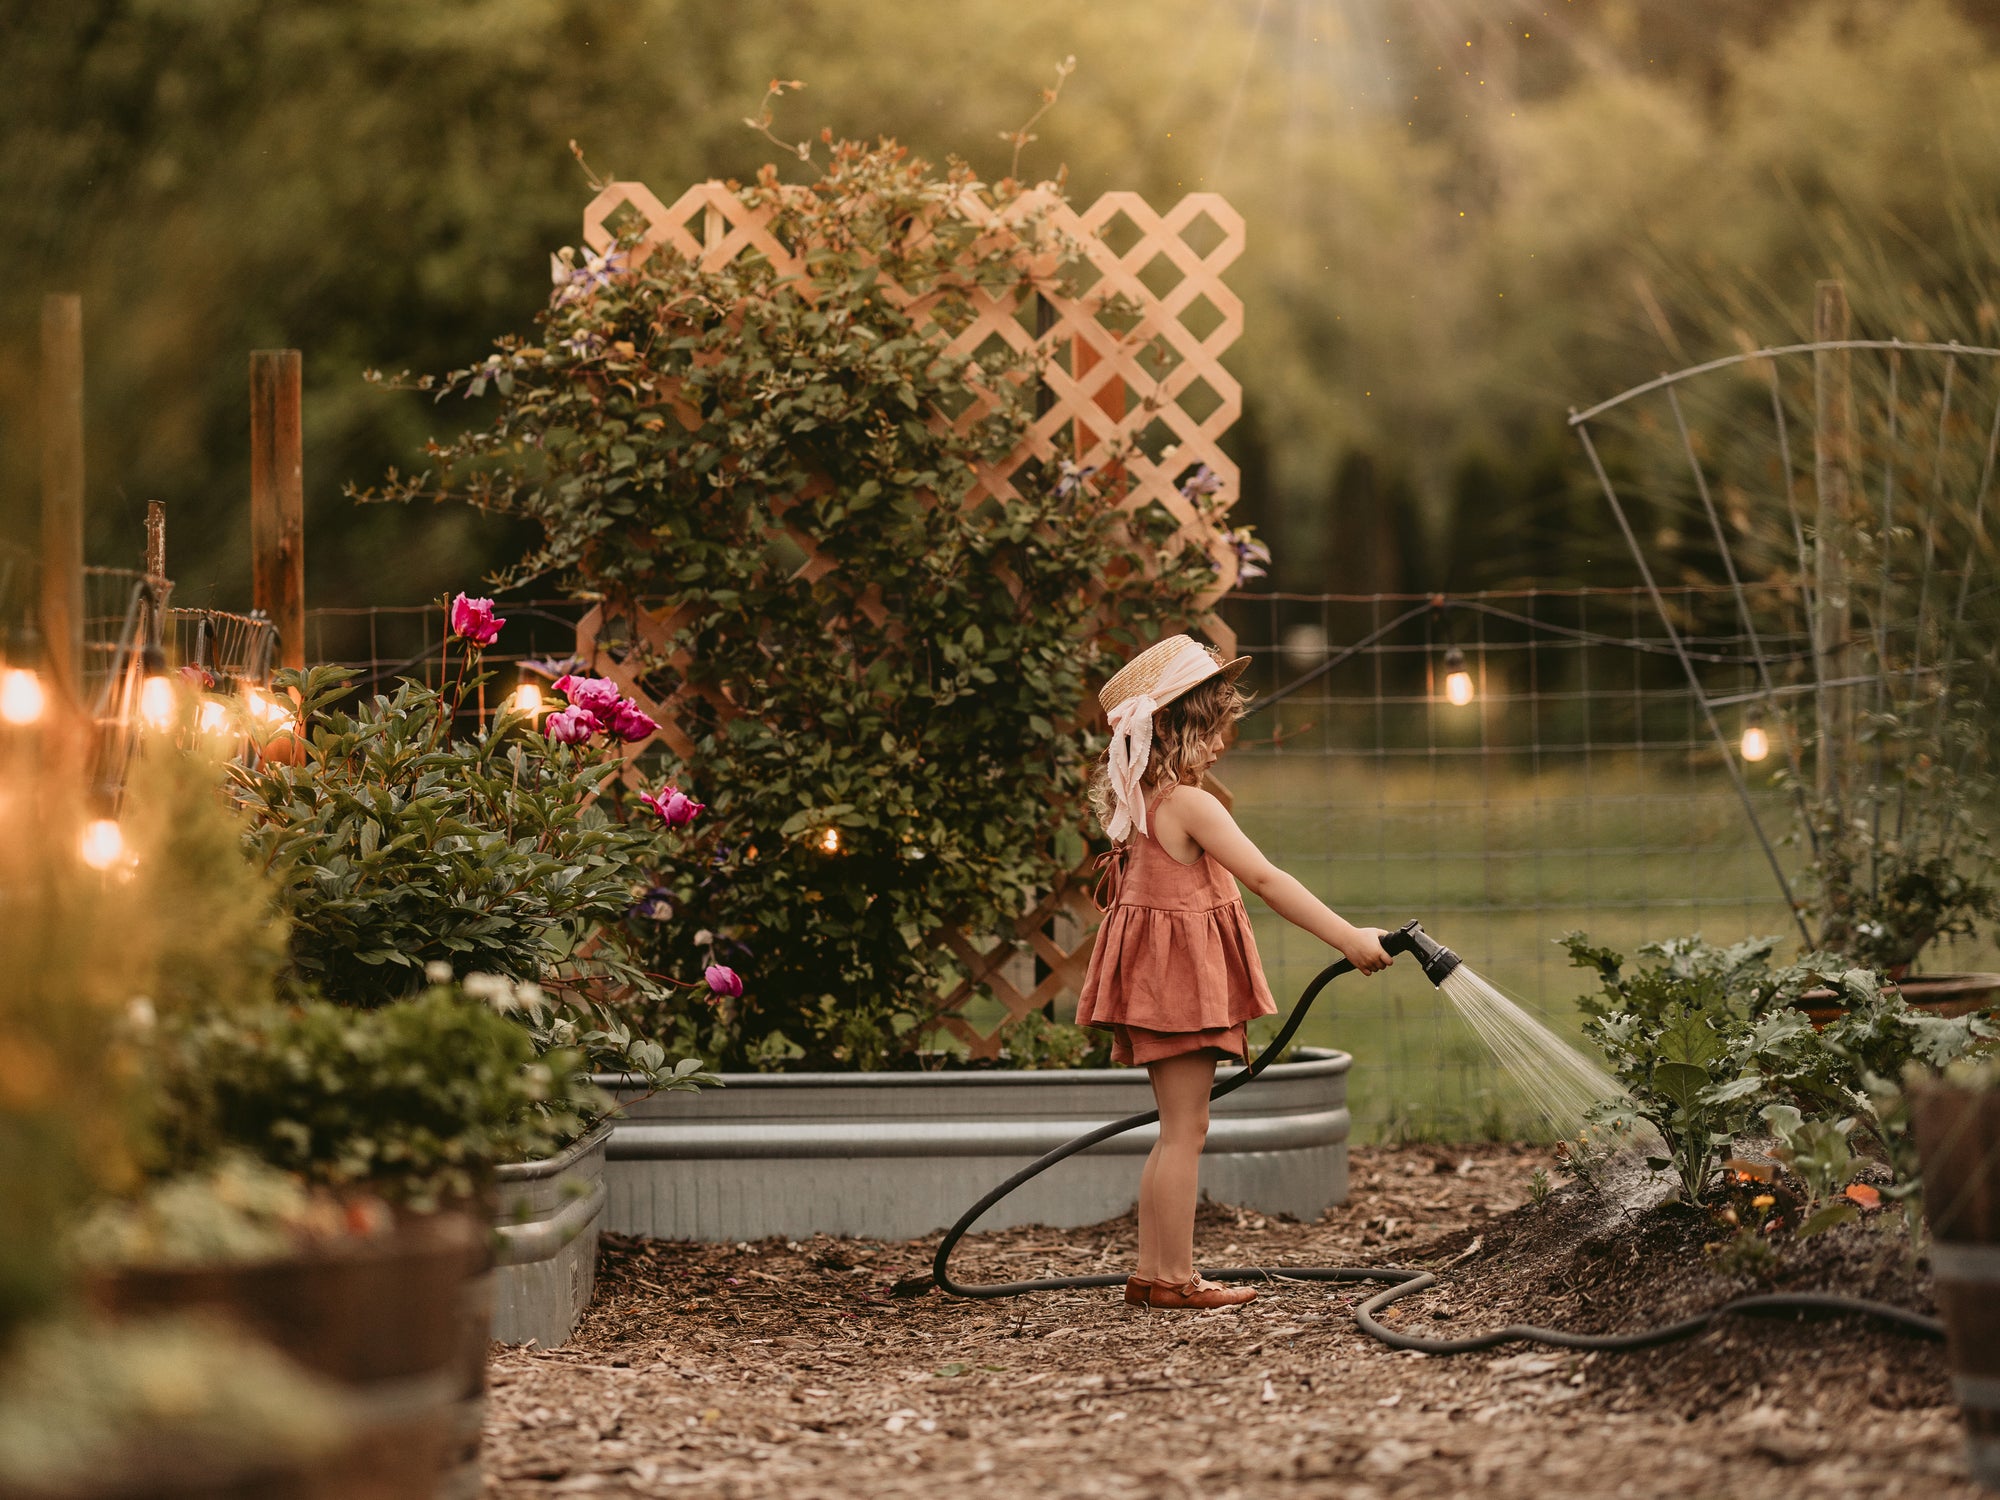
This week we chatted with Bri Viglianco, a multi-talented photographer and educator who has made the world brighter with storybook captures of her boys and their furry friends!
Bri is a lifestyle and family photographer known for honoring and elevating true to life tones and creating breathtaking art of authentic moments as she documents life at home. So much of her work is infused with a clear sense of humor, real life energy and vulnerability, and a magical dash of pop culture which makes each image all the more relatable and memorable. With a thoughtfully refined palette and a hybrid painterly approach, Bri unites indoors and out like no other - she'll have you suspending disbelief with a fluffy white clouds in the den and whisked away in the magic of wherever she goes!
We beckon you to fall under her spell and stay a while as we discuss capturing childhood, staying true to yourself and your art, and developing your editing style.
As temps heat up, flowers bloom, and evening sun turns everything to gold, we plan to continue this interview series highlighting inspiring photographers.This week we spoke with Amber Connor of Four Ponds Living! We talked home and brand styling, maintaining authenticity, cultivating beautiful spaces, and Instagram as a tool for exposure.