One of our favorite things about the holiday season is witnessing the creative magic of seasonally inspired photography – captured both indoors & out! One great way the spirit of the season is infused in creative work is via the use of fog & snow photo overlays. Whether picking that perfect tree at the tree farm, or crafting a bespoke gingerbread house with candy cane and gumdrop details, these tools can create that special dash of magic that transports your viewer into the image and into the moment! Transforming beautiful captures into storybook moments.
We so hope you’ve seen some of the amazing creative inspiration we’ve shared on our social media feeds this year and those prior! Perhaps you’ve even been inspired to purchase our overlays and create your own magic, but you're not quite sure how to get the results you desire!
In this guide, we’ve got a whole host of tips and tricks for overlays to ensure you can confidently elevate your holiday & seasonal winter images like a pro! We'll go beyond simply placing and blending your overlays and talk selective masking and the layering of differing types of overlays for next-level creative magic!
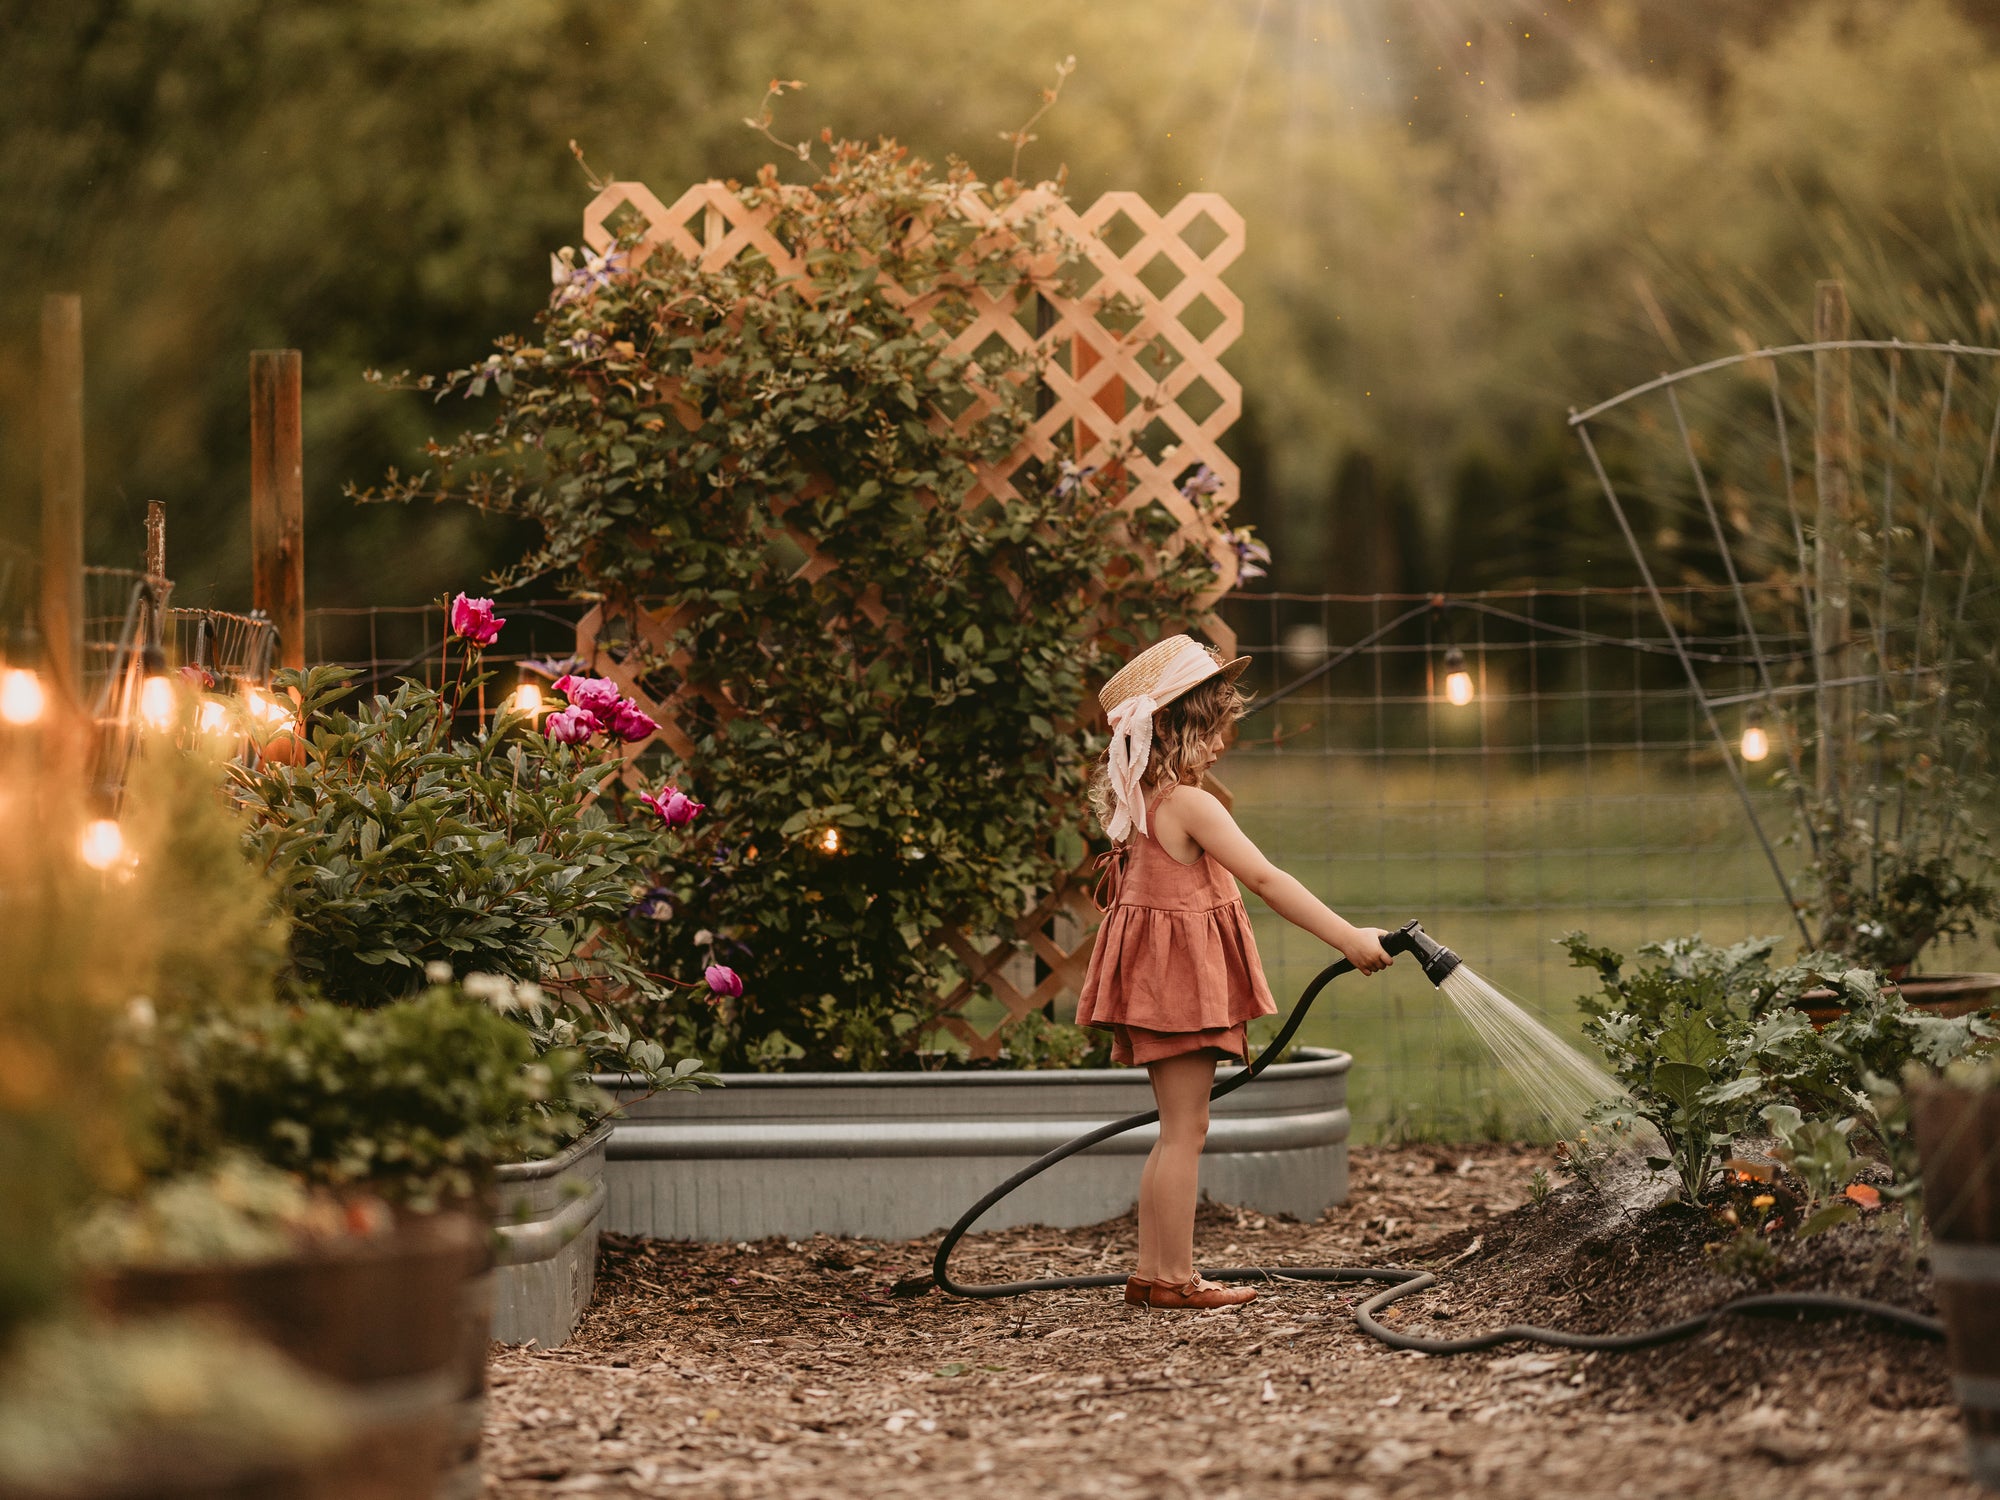
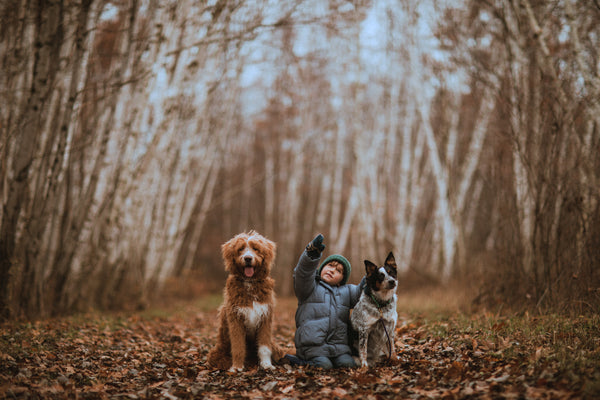
Here we’re going to walk you through how we transformed this gorgeous image by Bri Viglianco with our Fog and Snow Overlays! (Totally new to overlays? We've linked tons of free education at the bottom!).
Make Magic with Luxe Fog & Snow Overlays!
This guide covers our top tricks and tips for crafting fun winter scenes with Luxe overlays and involves processes you can use for just about any creative composite!
-
Load your image into Photoshop:

Raw images will automatically launch Adobe Camera Raw, so it's a great chance to correct white balance and/or exposure and apply your favorite preset before moving on to creating your composite with overlays! For JPG images you can launch camera raw via "Filter" > "Camera Raw Filter..." from your top menu! Once happy with your ACR edits simply click "Open" to open your image into the Photoshop Workspace:

Note: You can also apply overlays to edited or unedited images. Many choose to edit after applying overlays to ensure cohesive toning throughout. This is a little less crucial for white/grey overlays like fog & snow, but can definitely help if going for more stylistic white toning.
-
Locate the folder containing your unzipped Luxe overlays, select your first choice & drag it over onto your image in Photoshop.

Note: If you aren’t yet familiar with the look and feel of each overlay, we recommend dragging each on onto your image and scaling it for an accurate preview before making your first choice!
-
Scale your Overlay over the image and transform (or flip) as needed. Then click on the little check in the top bar to place your image.


Note: If you run into an error trying to place an overlay on your image, you can always open the overlay into another tab in Photoshop then copy and paste it over your image. We chose JPG instead of PNG here so we could get a feel for how the fog image looked when placing and scaling over our target image.
-
Once placed, you will then blend the overlay into your image by selecting "Screen" as the blend mode in your layer panel.

Note: We recommend applying and adjusting one overlay at a time.
-
Once you are satisfied with placement and that this is your ideal overlay, return to your target image layer and use smart select/subject select (or preferred alternative) to select the subjects and/or objects that you'd like to exclude from your fog mask:

You will then right click (Windows) or control click (Mac) your selection to view your Select options and "Select Inverse":

Note: As a shortcut, you can invert your selection with Ctrl+Shift+i on a PC or Command+Shift+i on a Mac.
-
Now with your selection active, return to your fog layer and click the Mask button on the bottom of your layer panel to create a mask of your selection:


Note: Depending on the amount of bokeh present in your image you may wish to blur have your fog match your bokeh or background. You can do this with Filter > Gaussian Blur or Filter > Motion Blur to or leave as-is. To blur your fog you will need to be sure the fog image is selected on the layer, and not the mask.
-
Now, whether or not you add blur to your fog image, we do recommend adjusting opacity (the visibility of your layer) to taste via your layer panel:

Note: This is where you will have the most control over your creative vision. You can aim for a realistic very light touch cold air feeling, or maybe a blustery strong wash of white/grey mist that you'll use as a backdrop for a snow overlay in the next steps.
-
Now that you've augmented the atmosphere with some fog, you can add your Luxe or ColorMade snow overlays much in the same way you added and scaled your fog overlays in those first steps:

Once placed & blended into your image with "Screen" Blend Mode you can add a mask and use a soft black brush to erase out any snow from the foreground or background of your image until satisfied with the outcome:

Note: As a shortcut you can use our Snow Effects from Luxe Let it Snow! 2.0 in Camera Raw (learn more about those HERE)! Once happy with your fog overlay placements and adjustments, you can edit the full image by creating a finished copy of your image onto another layer (On a Windows PC, press Shift+Ctrl+Alt+E. On a Mac, press Shift+Command+Option+E). Then with this layer selected you can launch ACR via "Filter" > "Camera Raw Filter..."
And finally you’re done!
Here’s our start (Image edited with the 'Pine Crest' preset From Earthborn Hues):
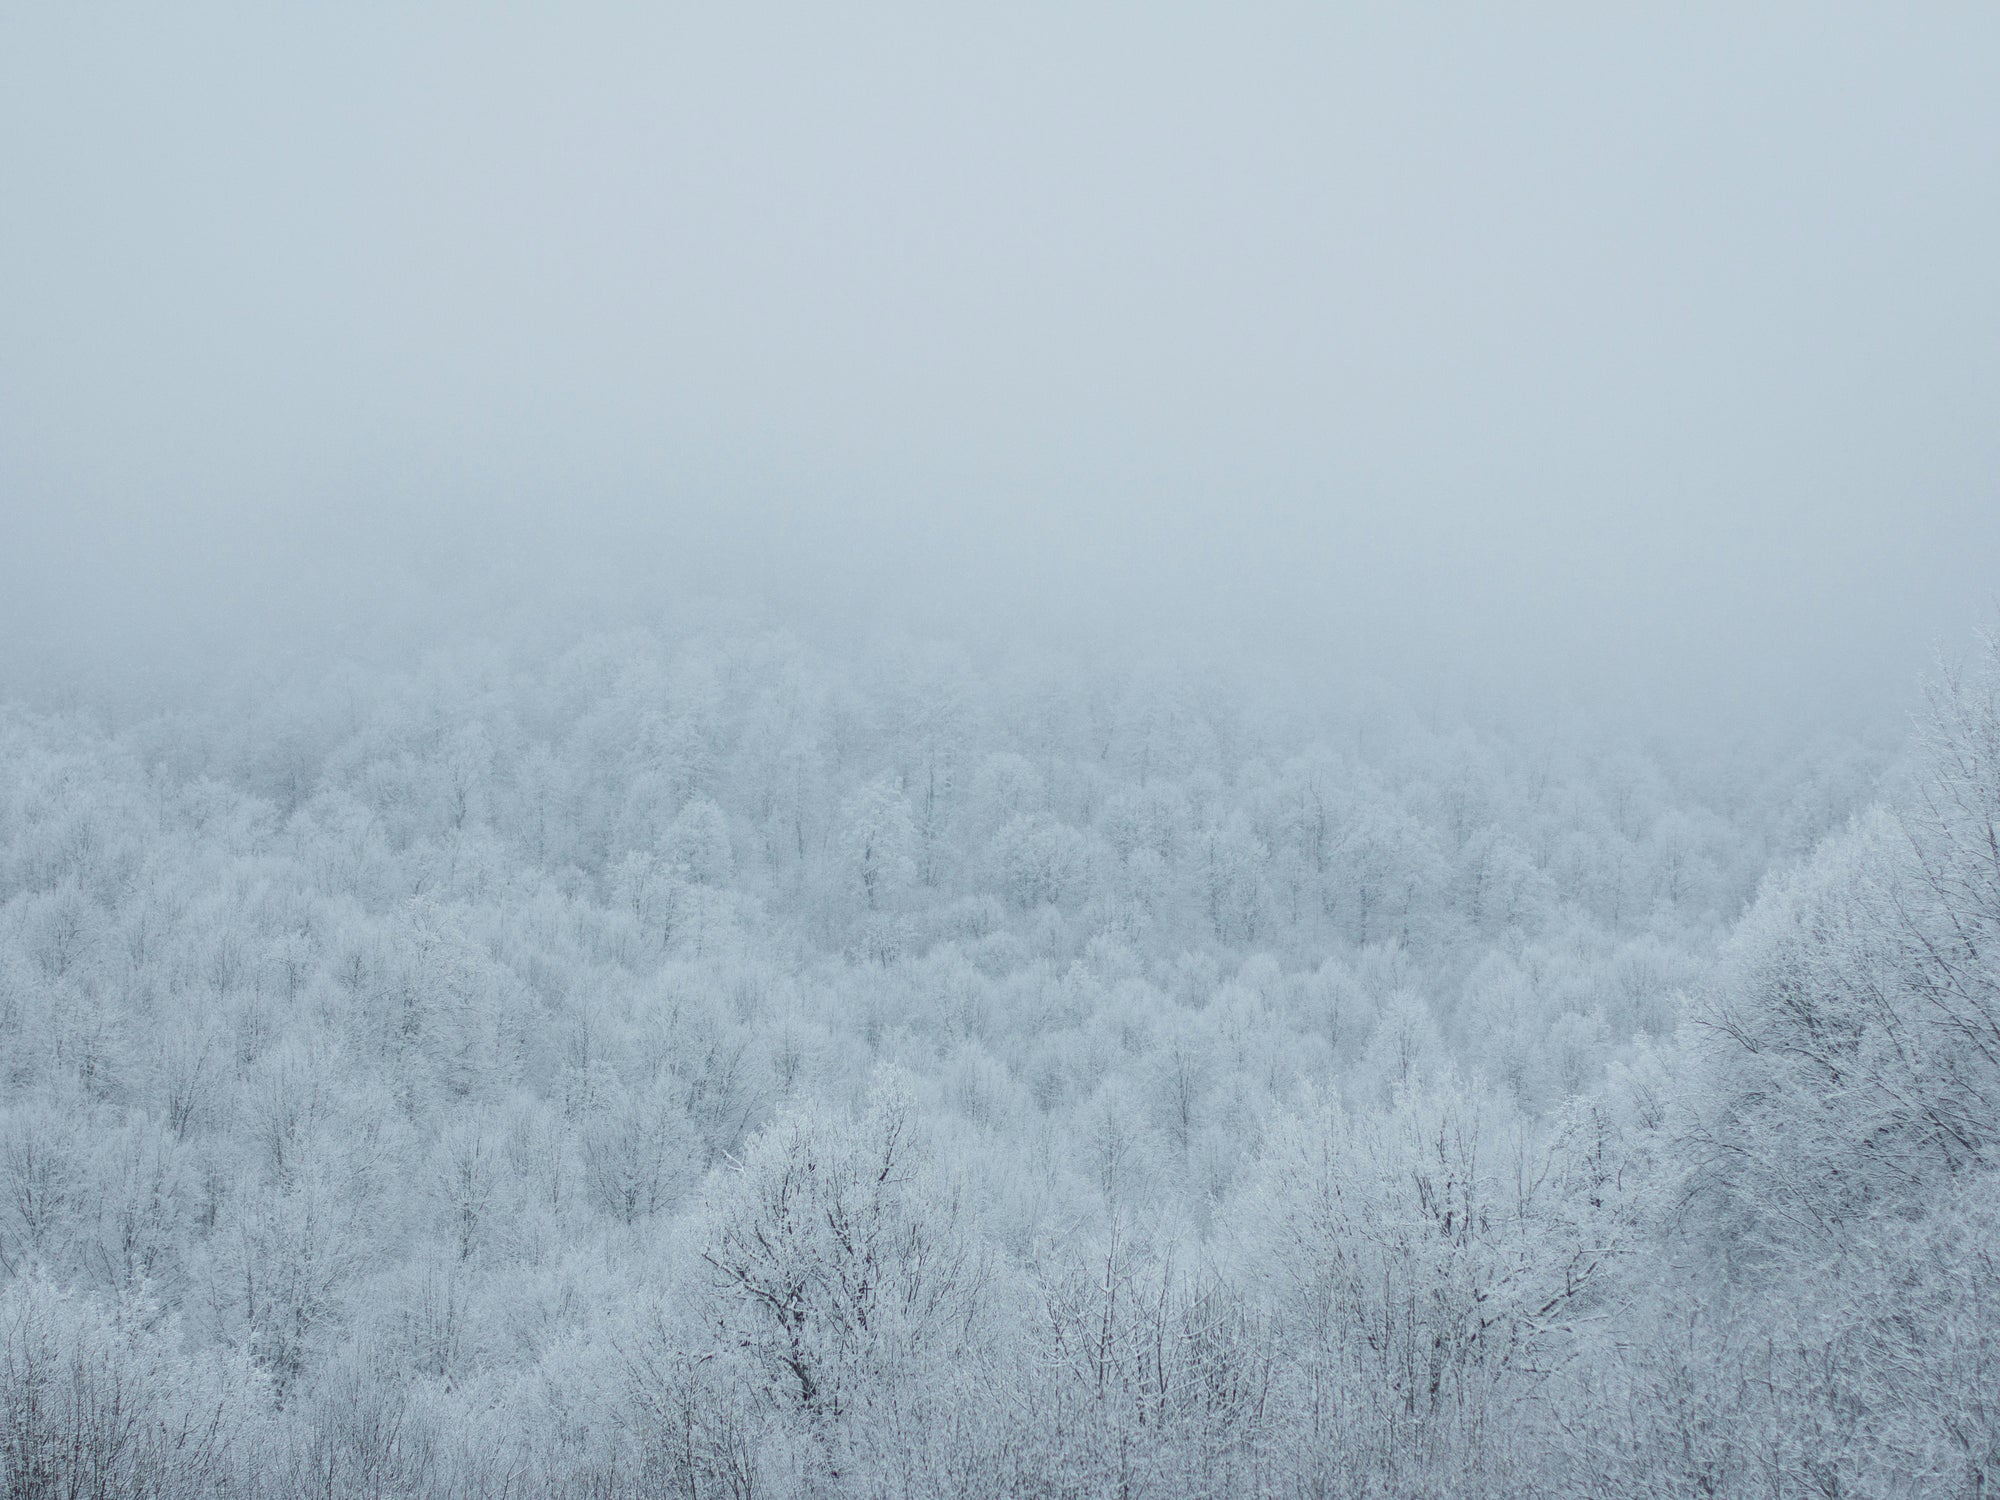
Here's our fog edit:

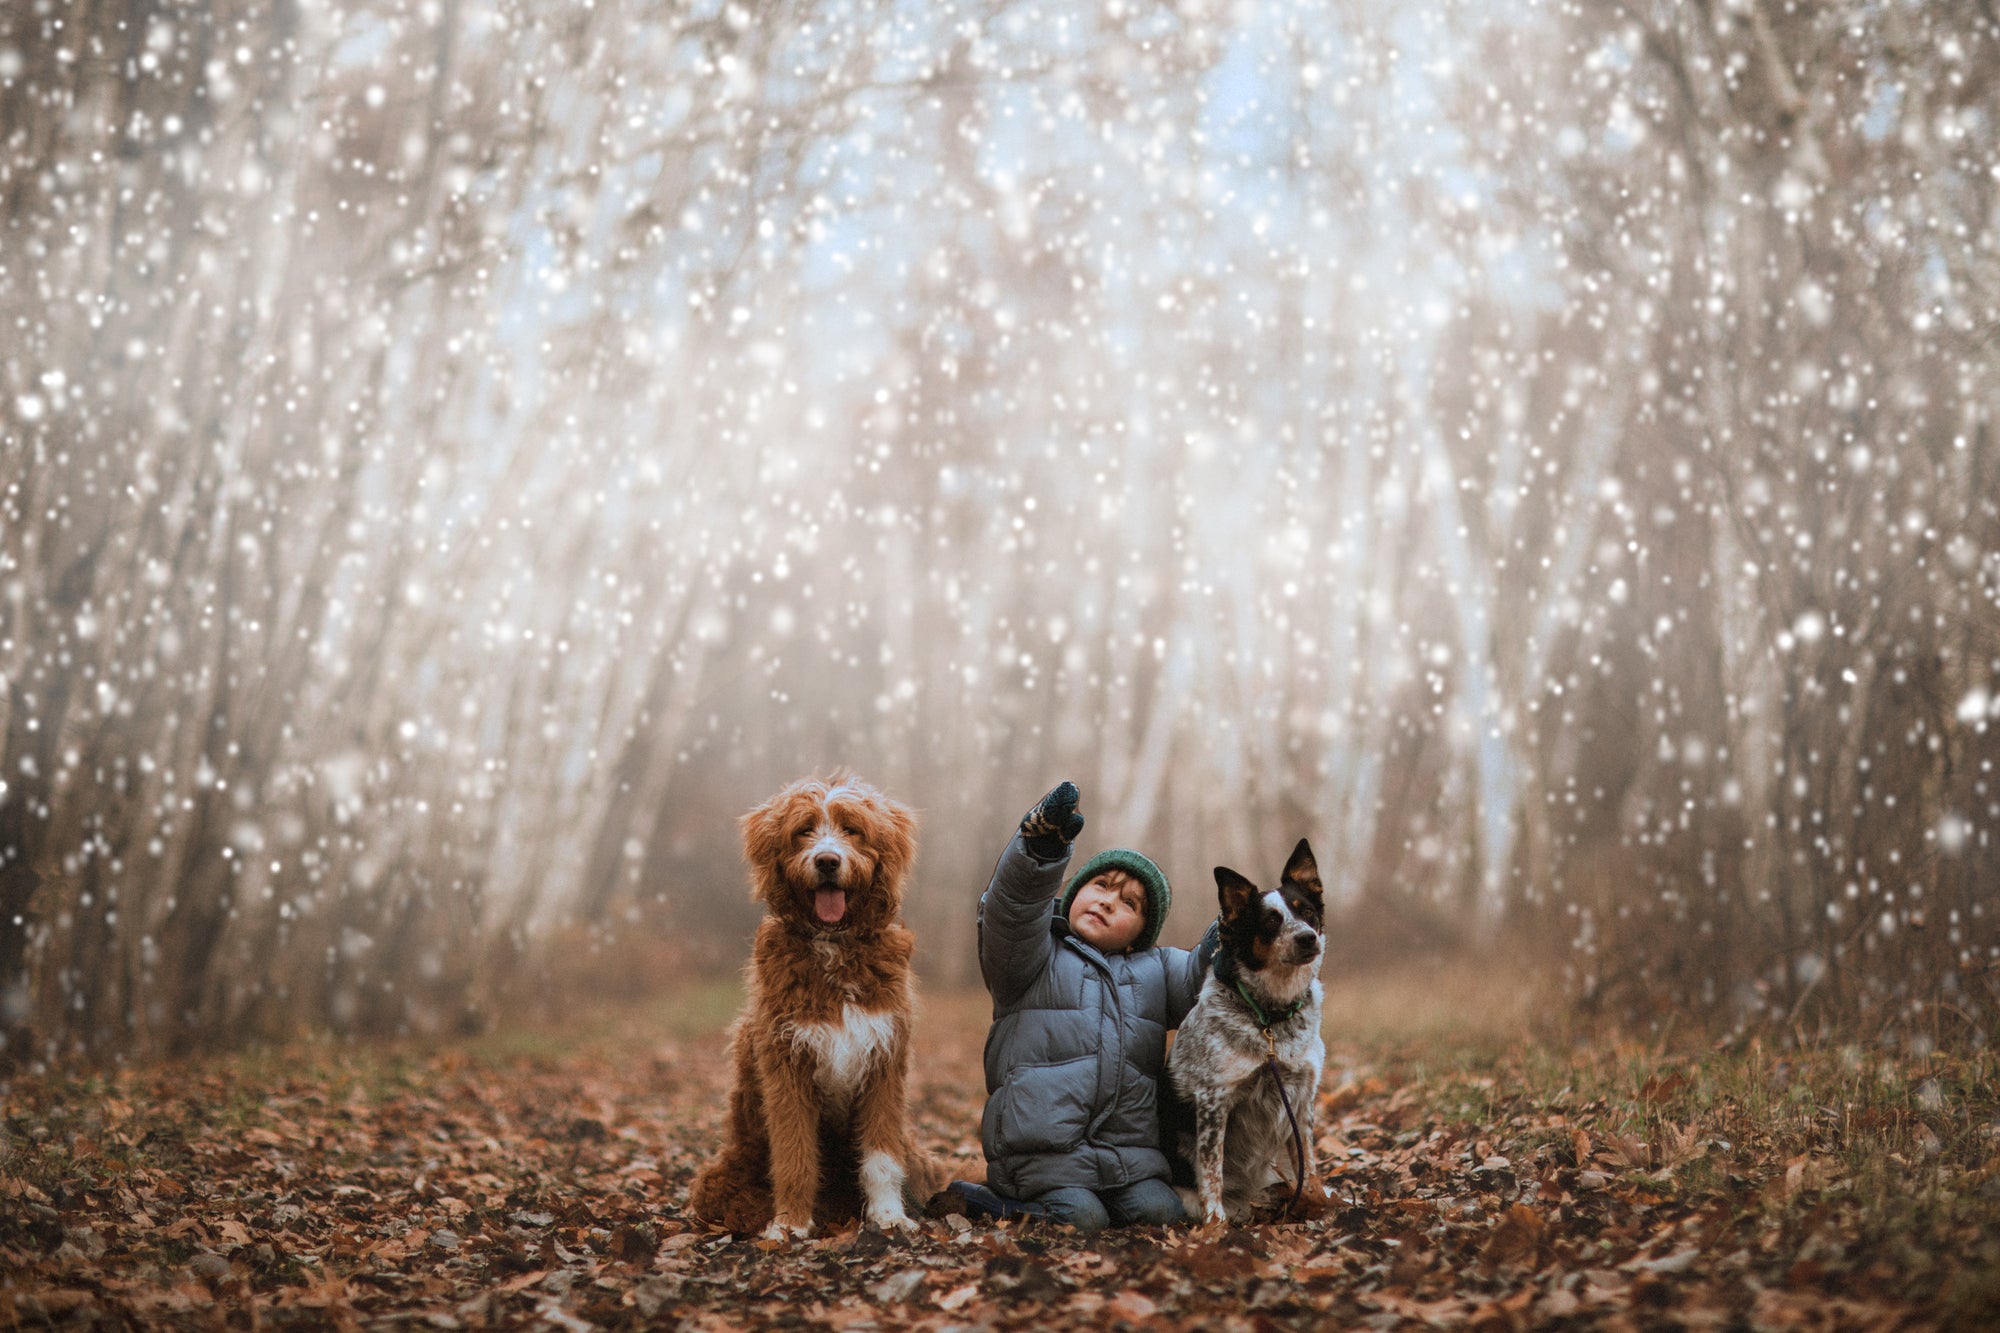
And here’s the finished image:

These are just some of our favorite tricks you can use to mask, blend, adjust, and customize your Luxe Fog & Luxe Snow Overlays for realistic composites that are unique to your images and can be used every single time!
You don't need to limit yourself to outdoor images, or even just fog & snow overlays! Snow effects have been really big on indoor Christmastime photography lately - from mini sessions with santa to holiday traditions under Christmas lights! But you can also use glitter, bokeh, and light overlays for whimsical trees and cozy scenes!
For the most realistic composites and seamless blending we recommend adding your overlays to fall or winter scenes that have real snow on the ground or have an obvious cold weather atmosphere or dress.

Want to learn more? Check out the FREE educational resources below!
Learn to Use Overlays in Photoshop, Elements, or On the Go
Learn to Import Overlays in Your Adobe CC Library for Easy Access
Learn to Apply Sky Overlays With Photoshop's AI Sky Replacement
Learn to Apply Leaf Overlays for Fall Composites
Learn to Apply Special Effects Presets to create Realistic Snowy Scenes in LR