Light and airy edited images have quickly become a social media staple. Bright, white, soft-toned edits are commonly lauded as the ideal solution to cultivate a clean and cohesive social feed. However, this popular look can be difficult to replicate. So, how are all these people getting that perfect look? The answer lies in presets and post-processing.
When it comes to the perfect light and airy photo, a brightly and evenly lit environment is crucial, but not always possible. Low evening light, yellow fixtures, blue shadows, lack of natural light, or a stubborn cell camera can all contribute to under-exposed or unevenly toned images. The solution? Adobe Lightroom. Thanks to the Luxe Light & Airy Collection of presets, along with basic settings within this popular photo editing software (Lightroom software or app), light and airy photos can be created in seconds.

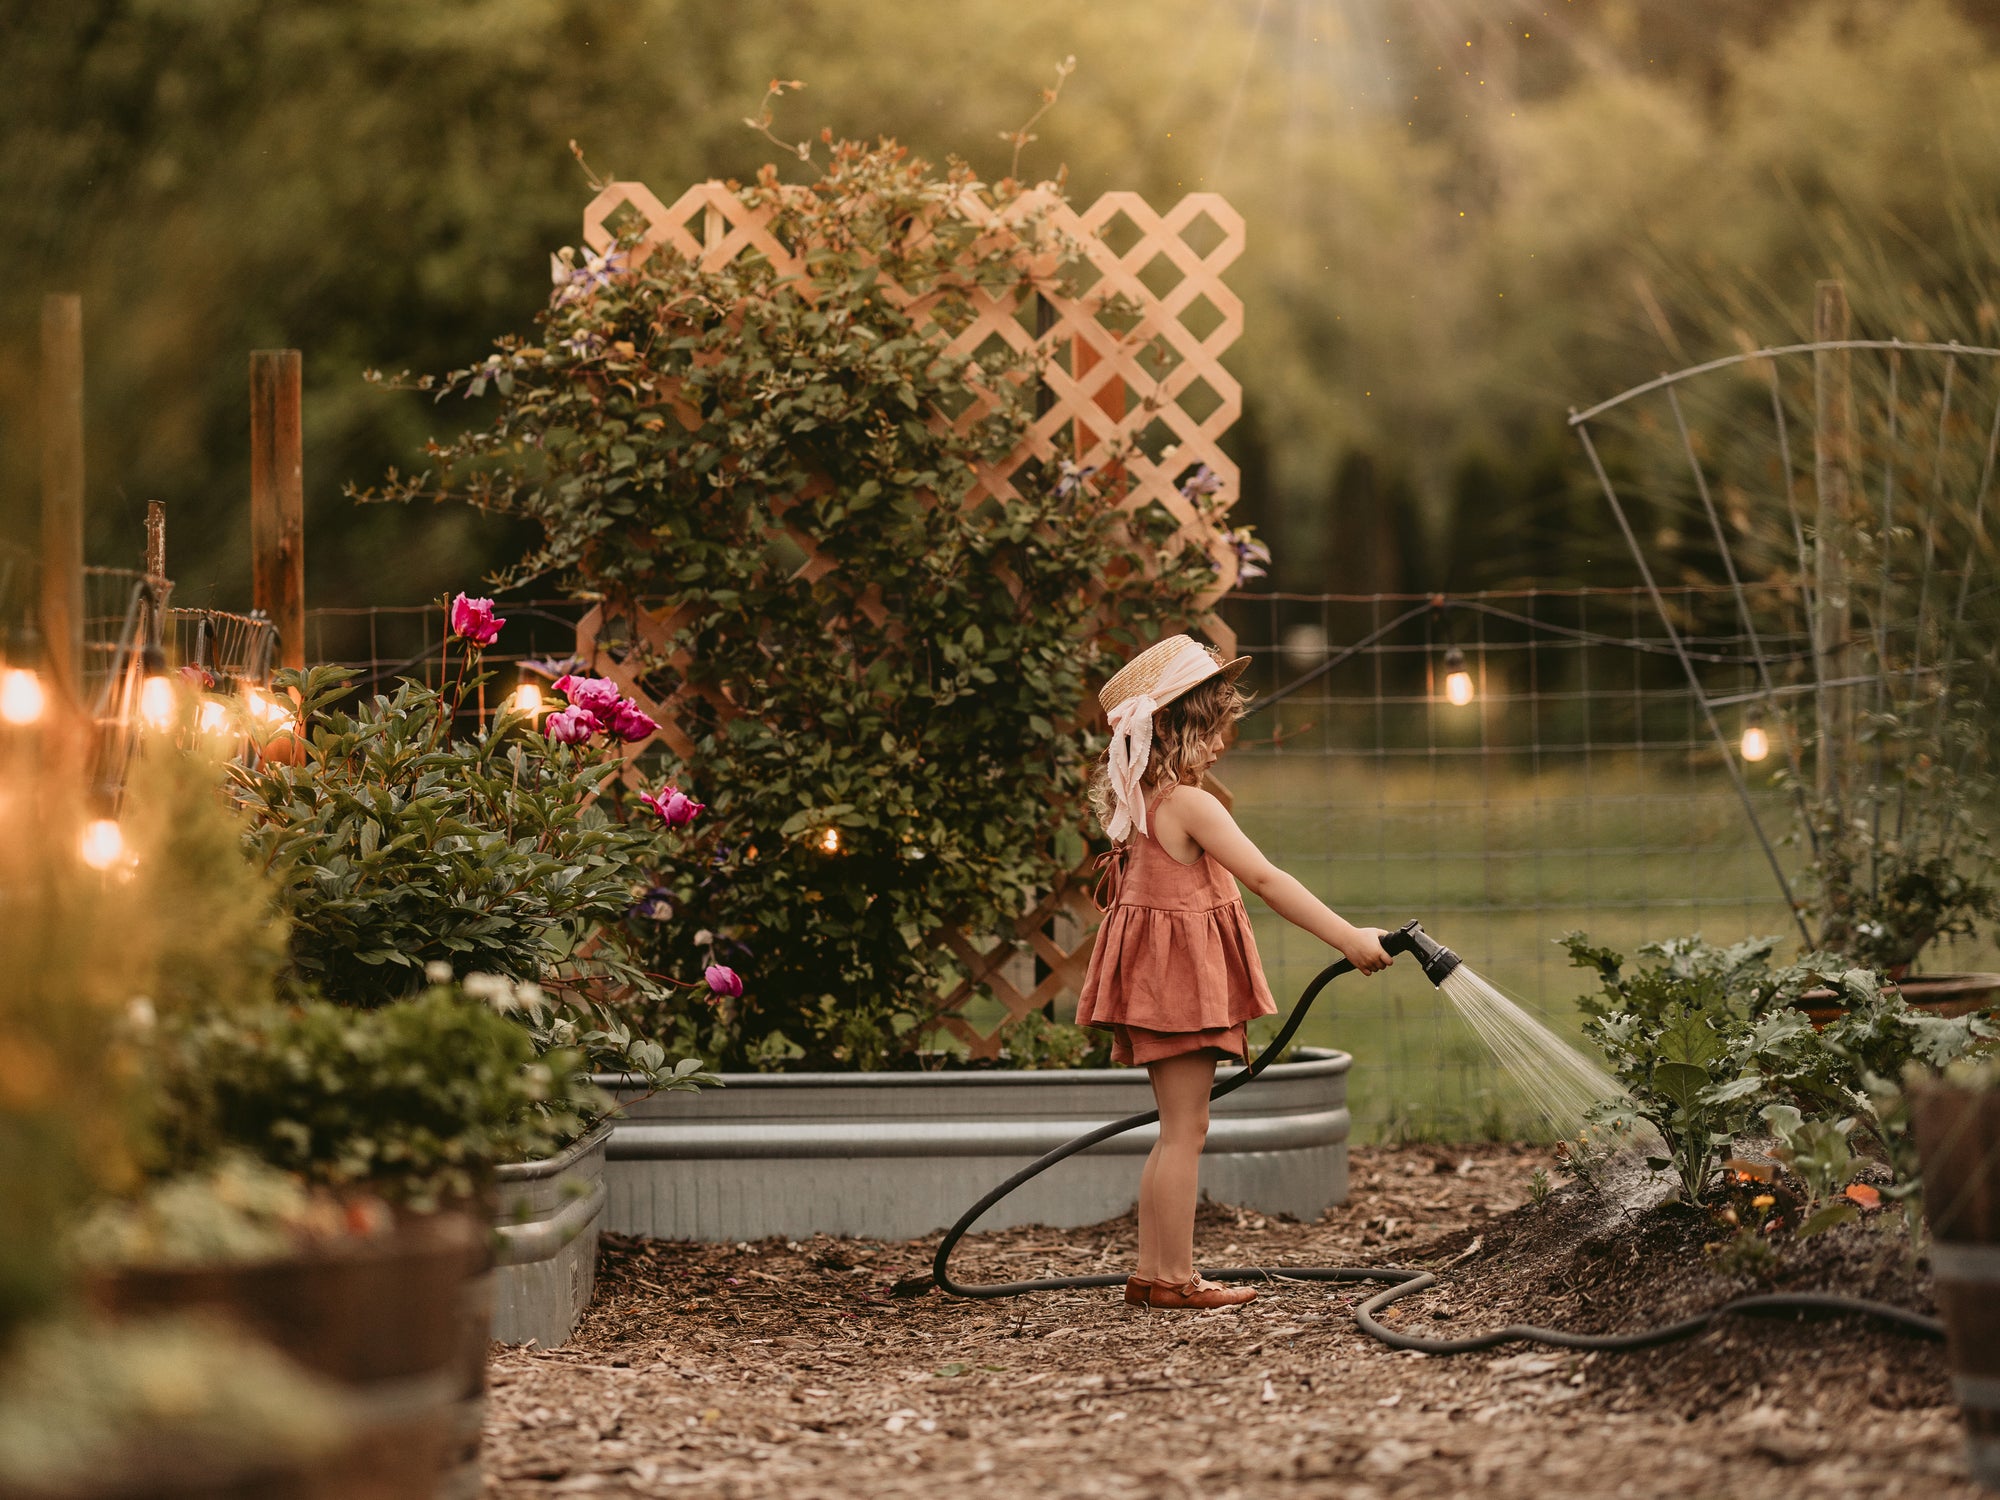
Photo Attribution: Luka M
The Perfect Workflow for Light and Airy Photos
The ideal light and airy workflow neutralizes lighting issues, brightens, and tonally balances images. In this workflow, we'll first set your white balance in order to neutralize overwhelming warm or cool tones, then we'll brighten your image with quick exposure adjustment. Finally, we'll add a Lightroom preset for professional toning and adjustments.
These basic adjustments are all located among the basic sliders in Lightroom Classic or the Light and Color tabs in the cloud-based and mobile versions of Lightroom. These adjustments are easily accessible, intuitive, and quick.

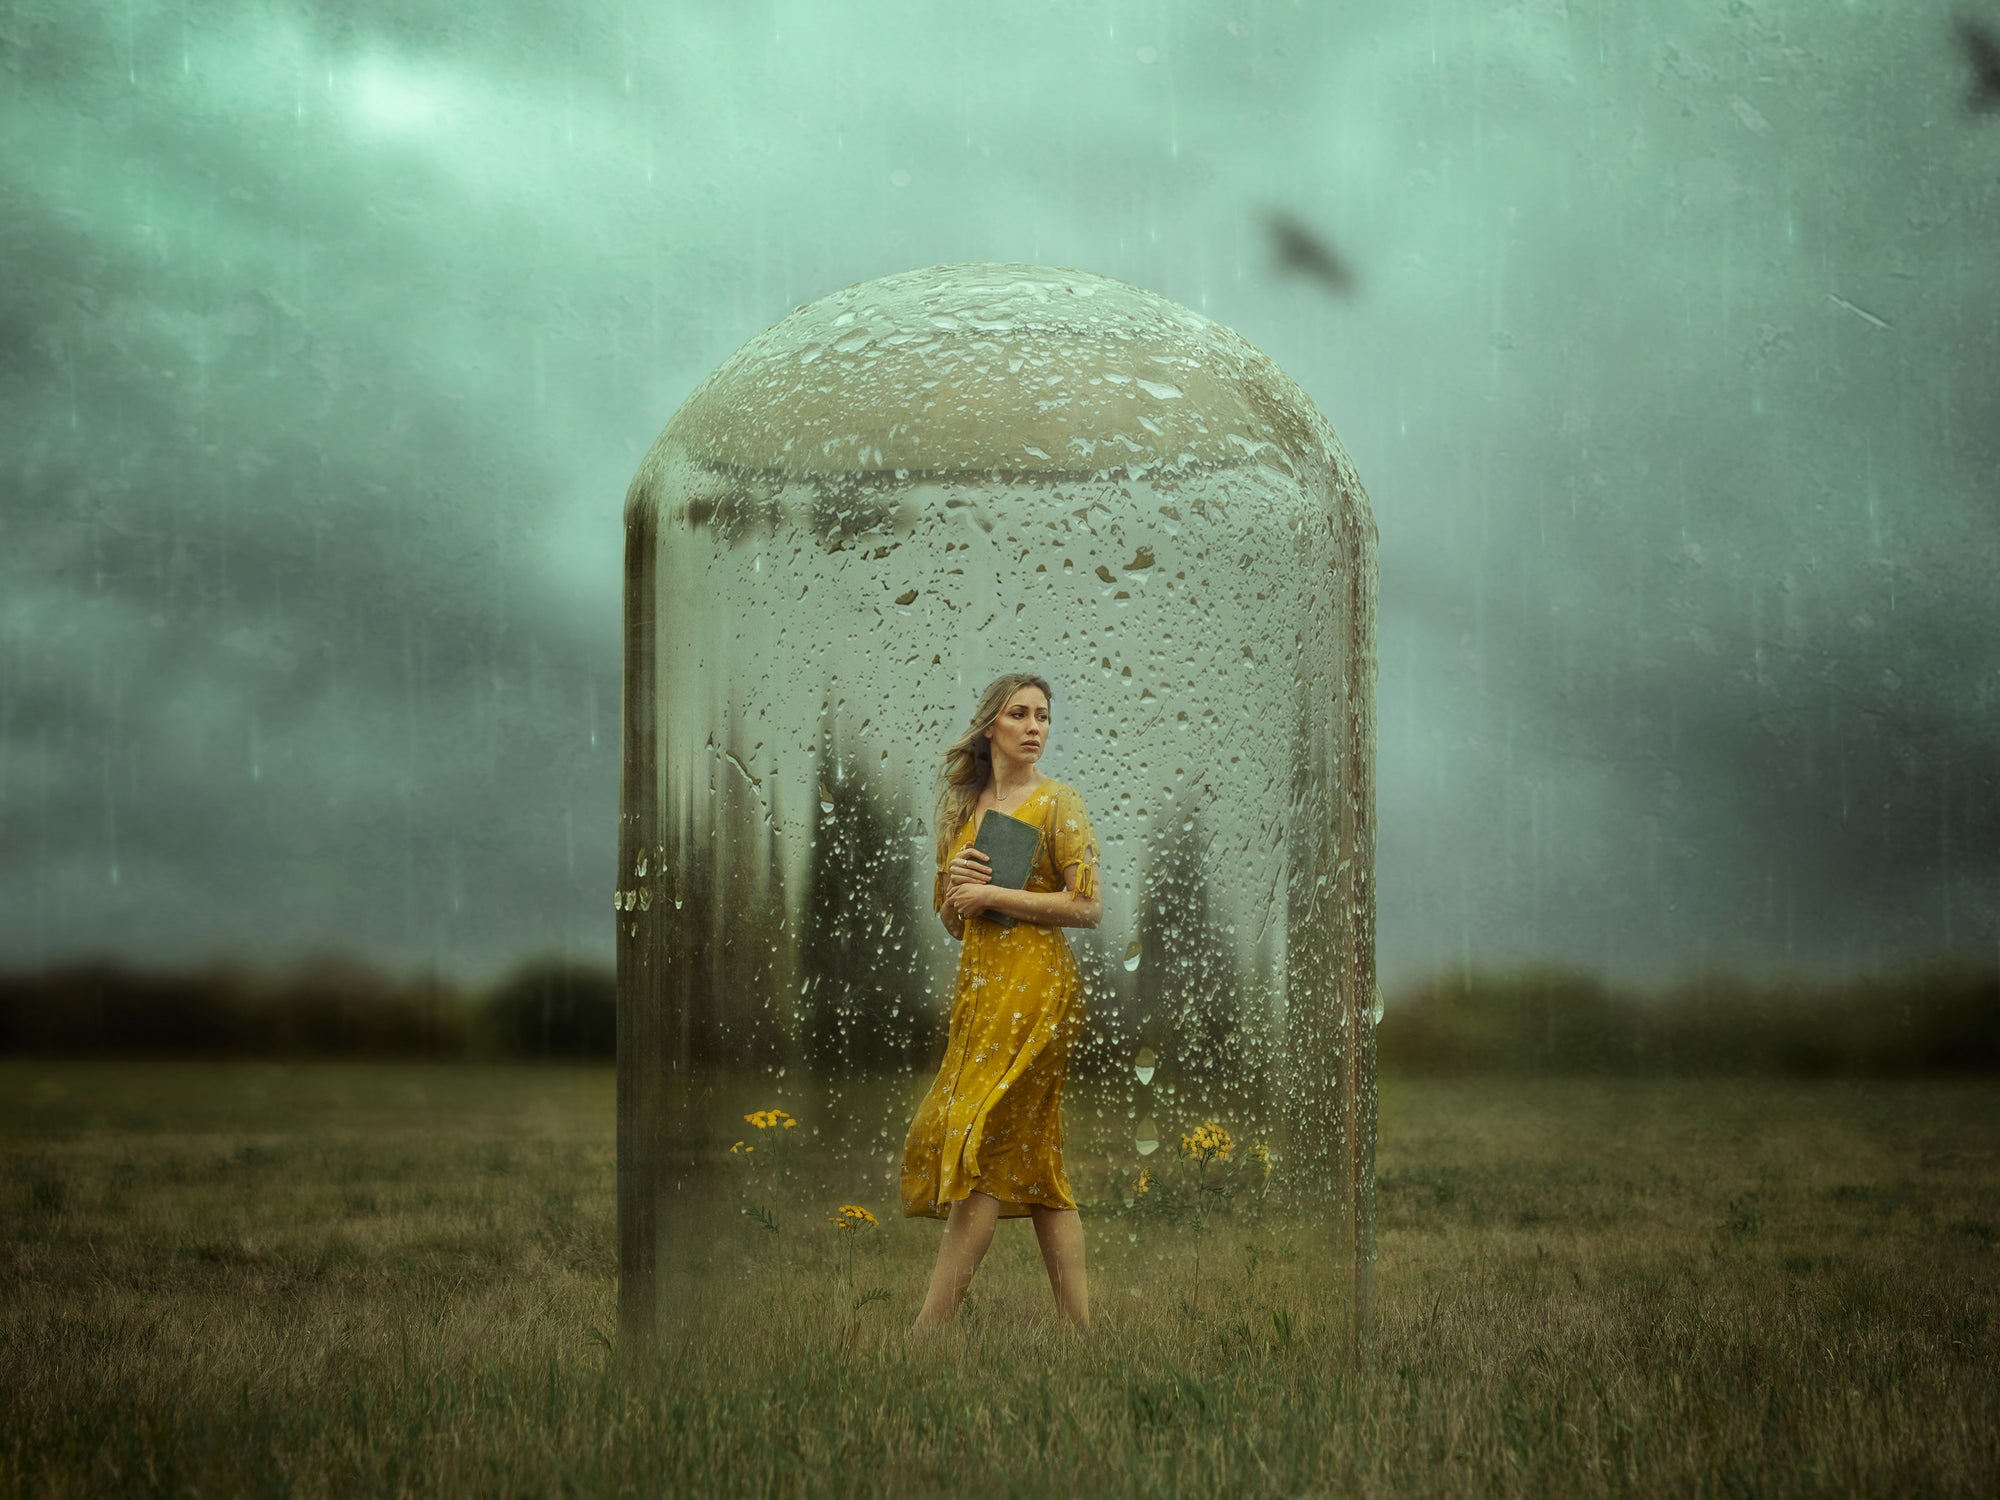
Photo Attribution: Nikola Joubert
1. Set Your White Balance
Setting your white balance is the secret behind clean and bright whites. You can quickly adjust your white balance with Lightroom's automated settings, quick preset tools (included in many of our collections), or manually with the Temp & Tint sliders (these sliders are located in the Basic panel in Lightroom Classic, and the Color menu for both the cloud-based Lightroom and the mobile app).
Lightroom's auto white balance options will depend on whether you are shooting in JPEG or RAW. For JPEG images, these options will be limited to "As Shot", "Auto", and "Custom" because there is less data for the processor to work with in JPEG images vs RAW. In addition to the three base settings, RAW images will also see the following options: "Daylight", "Cloudy", "Shade", "Tungsten", "Fluorescent" and "Flash". However, the simple "Auto" setting can still get you those clean whites - even when working with the JPEG format.
For quick edits, we suggest using the automated settings until you've have time to familiarize yourself with manually setting your white balance. Custom white balance can be accomplished using either the Temp & Tint sliders or the White Balance Selector tool (you'll find this appearing as a little eyedropper next to your White Balance settings).
For detailed information about manually adjusting for custom white balance check out our detailed blog article on How to Set Your White Balance in Lightroom.


White Balance is found under the Basic panel in Lightroom Classic, and the Color menu in Lightroom CC/Mobile.
2. Set Your Exposure
Exposure adjustment is the secret behind bright and even light. Because exposure needs are highly variable between images, we highly recommend manuallyt setting your exposure.
When manually setting your exposure, we recommend staying between +.20 and +.60, if possible. We don't recommend pushing your exposure beyond +1.00, because this often makes the lack of data in your dark image too obvious (things may start to appear muddied or blown out, especially for JPEG images).


Exposure is found under the Basic panel in Lightroom Classic, and the Light menu in Lightroom CC/Mobile.
3. Apply a Light & Airy Lightroom Preset
Luxe light and airy presets change an average of 30-80 settings within your image to get you a clean, professional looking edit in a single click. The right preset for your image is the one that honors the image's natural toning while softly boosting and unifying those tones.


For this image, I used the Soft Skin preset from the Luxe Light & Airy Collection.
4. Apply Additional Highlight/Shadow Adjustments (Optional)
If you're still seeing some dark shadows or muted highlights, you can always try pulling up your shadows or boosting your highlights. Many collections come with highlight and shadow tools for one-click options.


You might also make some cosmetic corrections, experiment with closer cropping, or other small adjustments. Saving time on your light and toning workflow means more time to make smaller adjustments if desired. No matter your choice, it shouldn't take hours to nail that bright, light, and airy image!
Want a more in-depth look at a Light & Airy workflow? Head on over to our Help Center for a detailed guide specific to the Luxe Light & Airy branded presets.
We also have this helpful video demonstrating a typical Luxe Light & Airy Collection Workflow using various presets and tools from The Luxe Lens in Lightroom Classic: