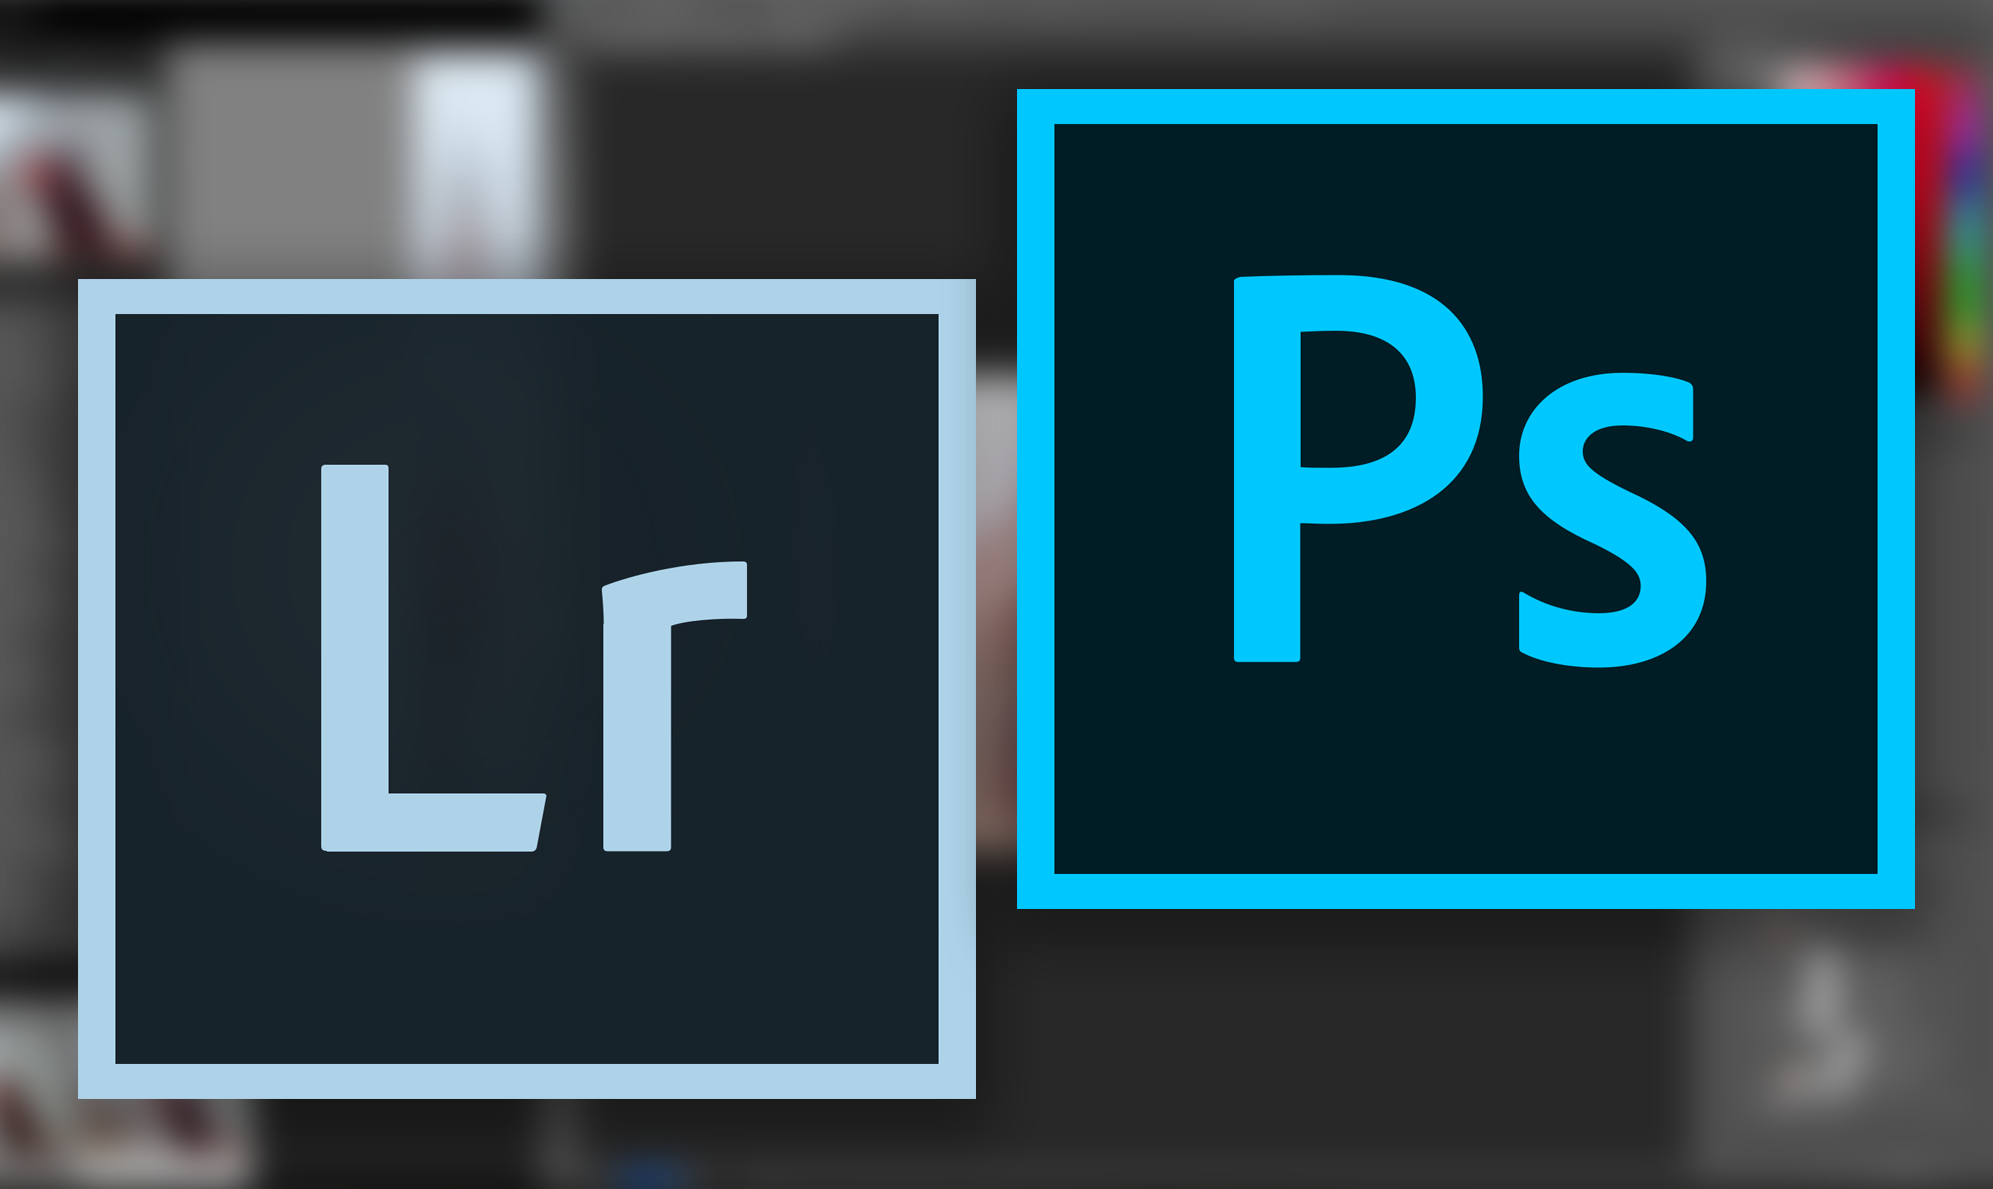
From Lightroom to Photoshop and Back Again
Lightroom is an elegant photo organization and editing tool. It does most things absolutely brilliantly. There are two cases, however, when you may need to access Photoshop to achieve your desired result. First, while Lightroom tools are sufficient for most editing needs, there are cases with the tool available is not inclusive enough to achieve the best outcome. Secondly, there will be cases when a task is not included in Lightroom's repertoire at all. In both cases the use of Photoshop becomes a one-way street.
Luckily, the transition between Adobe's two photographic tools is effortless. If you are a CC photo subscriber you automatically become the owner of both programs for the very reason that they perfectly complement each other.
For example Photoshop has very advanced cloning tools like the clone stamp and healing brushes that are infinitely more powerful than Lightroom's spot removal tool. Another obvious example is the lack of layers in Lightroom, something that will sooner or later lead to Photoshop.
For successful transitions you have to remember that you always start from Lightroom, temporarily export to Photoshop for editing tasks you need to do, and always return to Lightroom for archiving, further editing, printing, book creation, etc. Think of it as a closed loop that you never break so that you keep everything you do properly archived.
Before you do any editing, I will take you through a very easy one-time setup procedure that will determine how transitions take place. Go to the "Edit" menu at the top, click on the "Preferences" menu and then on the "External Editing" tab. Here you will find settings that will ensure high quality results without surprises:

The top portion of the menu refers by default to editing in Photoshop. Here are my recommended settings:
- File format: This is the file you will end up with when you are done with your Photoshop edits and have returned to Lightroom. TIFF files can be defined as lossless and are widely used. You can always choose PSD files (which Lightroom can read, without the ability to access the layers) however the file sizes are quite large and I recommend this option only if you want to go back to Photoshop again and edit from where you previously stopped.
- Color space: Adobe RGB is ideal for both prints and screen work, offering richer colors than sRGB. You can also choose ProPhoto RGB (the default Lightroom color space which is even more expansive) but bear in mind that Photoshop is limited to Adobe RGB.
- Bit depth: 16 bits is the highest setting for the best possible color depth.
- Resolution: 240-300dpi is ideal for good quality prints; it is something you can always change in Lightroom at a later stage. If you only process photos for the web, lower resolutions will also work.
- Compression: Avoid compression as it degrades quality as you go along your edits.
The "Additional External Editor" panel refers to auxiliary editors linked to Lightroom, for this article we are strictly limited to Photoshop. Check the "Stack with Original" box (further explanation to follow)
In order to distinguish the new version of your Photoshop edited photo on your return back to Lightroom, go to the "Template" dropdown menu and choose the "Edit" option at the bottom. The Filename Editor allows you to create any type of file, you just have to think of your needs and create the appropriate example name at the top of the menu. As you can see I like to keep things simple and use the default option of adding "-Edit" to the original filename:

You are now ready to use Lightroom with Photoshop for some really smooth transitions. While in the Library module, press Ctrl-E (Cmd-E for Mac). You can alternatively open a photo from either the Library or Develop by right clicking on the photo at any stage, hovering over the "Edit In" option and then clicking on the "Edit in Adobe Photoshop CC" option at the top of the list:

You will then see the following menu:

The first option, Edit a Copy with Lightroom Adjustments, is typically the only one needed because when you return to Lightroom a new version of the file will appear next to the original (remember the "Stack with Original" box we checked in our initial one-time setup?). Now your file will open in Photoshop and you can start you edits.

Once you are finished in Photoshop, you can go back to Lightroom using two methods:
- Close Photoshop completely or just close the file by clicking on the cross next to the file name just above the photo panel. You will be asked to save changes to your document, just click on "Yes".
- Go to the "File" menu and choose "Save".
When you return to Lightroom you will see your newly edited file next to your original file, in our case the "-Edit" text has been added to distinguish the two files. Notice that the original file is our NEF RAW file, while the new file that I edited with actions (for better control over effect strength) in Photoshop is a TIFF file:

If for any reason you want to bring back to Lightroom the PSD Photoshop file (especially for a version with overlays or special effects that may need tweaking later on), you do not need to do the setup procedure again. When you have finished your edits in Photoshop, go to "Edit" and "Save As...". In the Save As option menu go the "File name" option and chose the PSD file format. Back in Lightroom you will see your new file saved as a PSD file next to your original file:

This is it! Moving between Lightroom and Photoshop is seamless. Before integrating this procedure in your editing, I strongly suggest creating a trial catalog, completing the setup procedure described above and doing a few trial edits using both programs. A little bit of practice will allow you to do everything effortlessly. Now you have integrated Photoshop in your workflow and the sky is the limit for your edits!
About the Author: Dimitrios Matsoulis is an engineer that studied in the UK and has an industrial automation and solar energy background. His love for outdoor activities and photography has naturally led him to photo editing. He uses Lightroom and Photoshop for his own photography as well as freelancing. He lives in Greece and maintains his online presence via his personal photography blog, 500px and Instagram.