If we were to classify post-processing parameters by their impact on photos, white balance would come up as the first one in the list. Have you wondered what is mainly responsible for the distinctive cold cinematic look? You guessed it, white balance.
Cropping is one of those powerful post-processing essentials that can help your photography really take off. It can draw the viewer's attention to specific areas of a photo, it can help remove of unwanted elements of the photo, or even create unique end results from the same photo by using different cropping techniques!
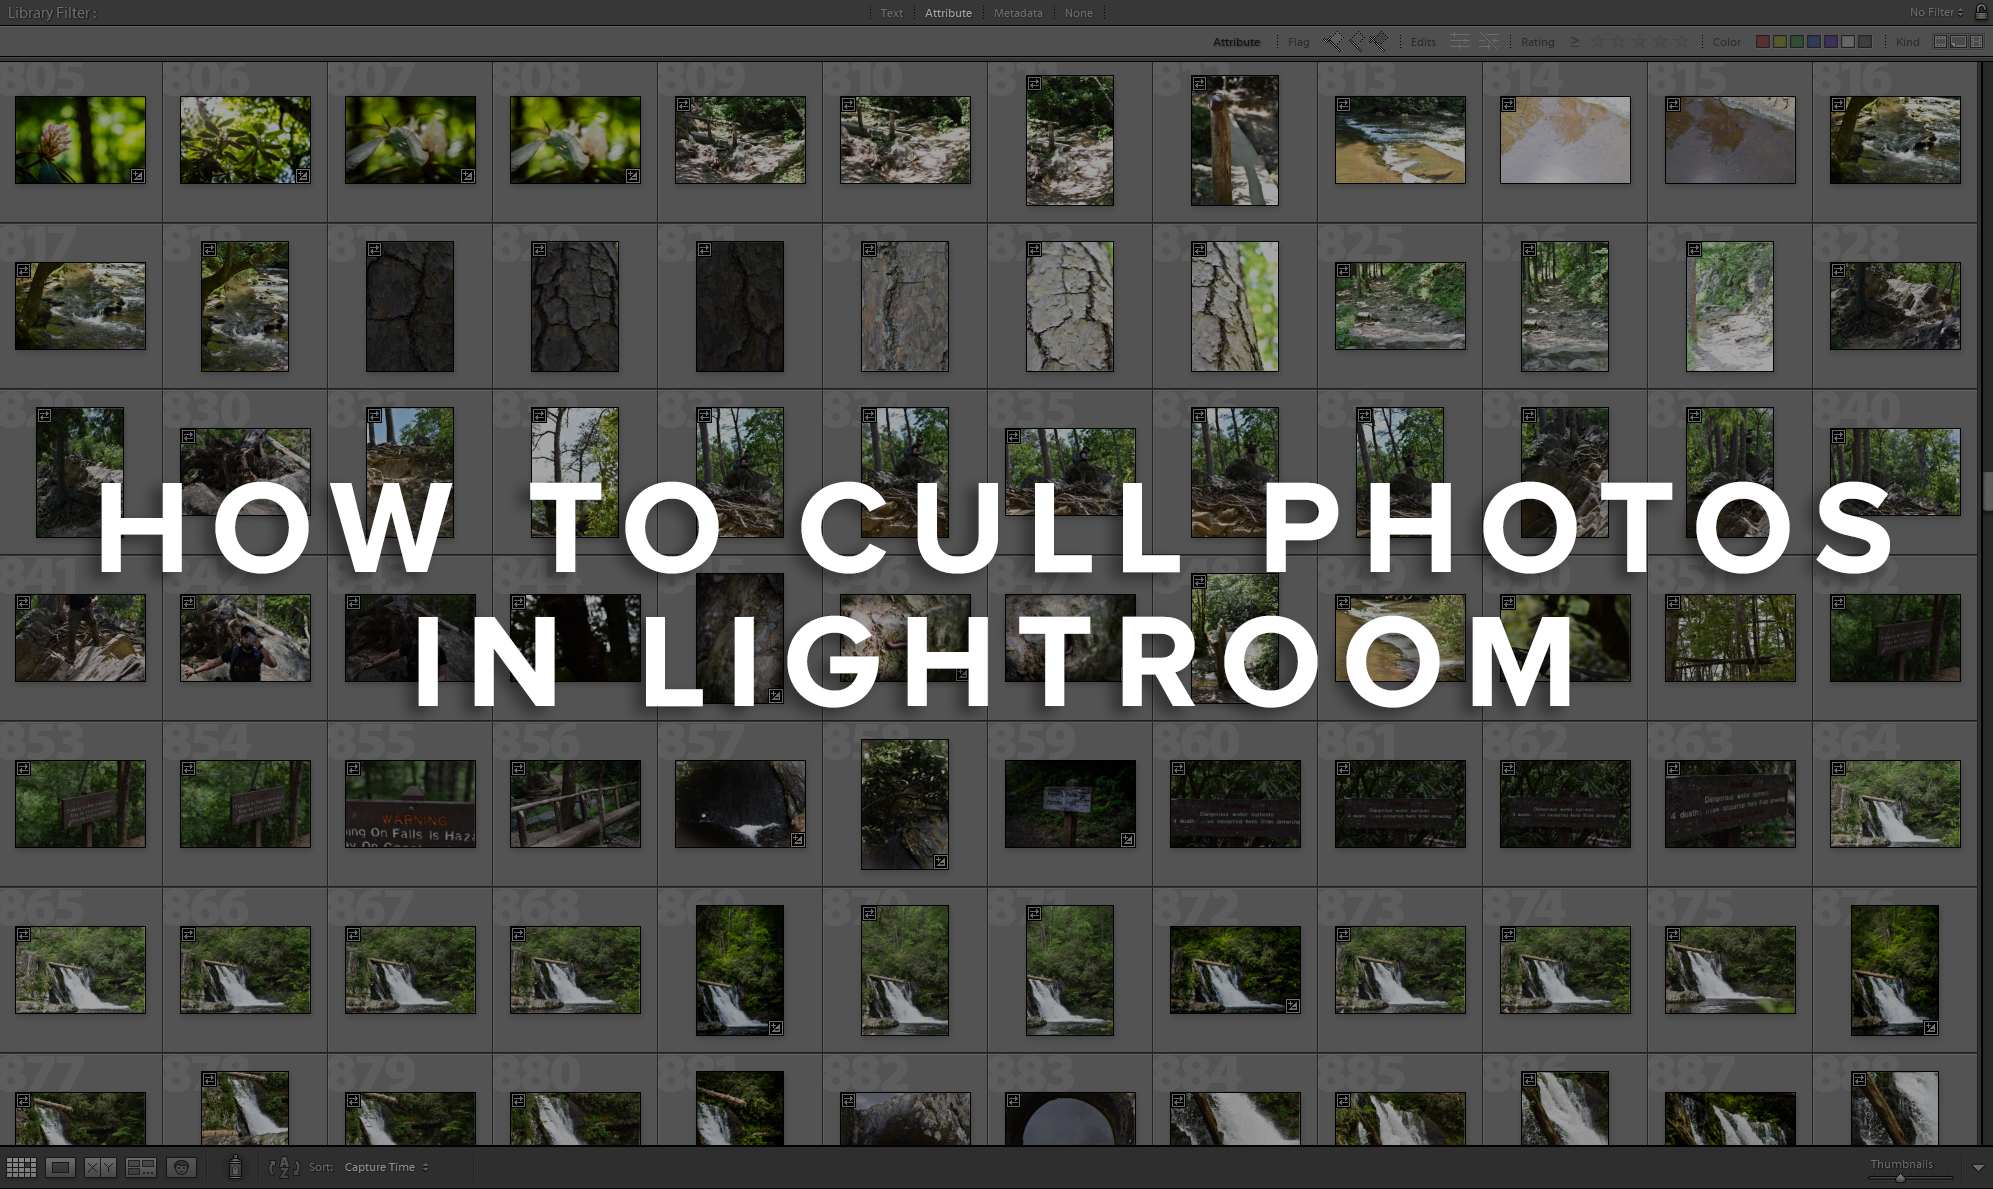
Culling photos in Lightroom is a crucial process that helps us choose our best images for editing. Imagine coming back from a wedding shoot or a long holiday. The probability of having to go through hundreds, or even thousands, of images is extremely high.
The graduated filter tool is the third local adjustment tool covered in this Lightroom series. Its purpose is to apply a range of effects on a controlled section of photos, done, as the name implies, in a gradual manner.
Many competitors and plugins have emulated Lightroom’s slider and panel organization. A part of Lightroom’s success lies at the micro-level and the flexibility it provides in terms of how adjustments can be made. It might sound counter-intuitive, but constantly sliding sliders with a mouse is not always the most effective way of working.
The adjustment brush tool in Lightroom is one of its most powerful editing tools. Getting acquainted to its use will let you significantly extend the amount of manipulation you can do without having to leave Lightroom. Unlike global adjustments, the adjustment tool selects and modifies specific image areas.
Your guide to installing and using Lightroom presets and brushes in the Lightroom CC mobile app. Take your work with you by transferring presets for use on your phone!
Lightroom is an elegant photo organization and editing tool. It does most things absolutely brilliantly. There are two cases, however, when you may need to access Photoshop to achieve your desired result.
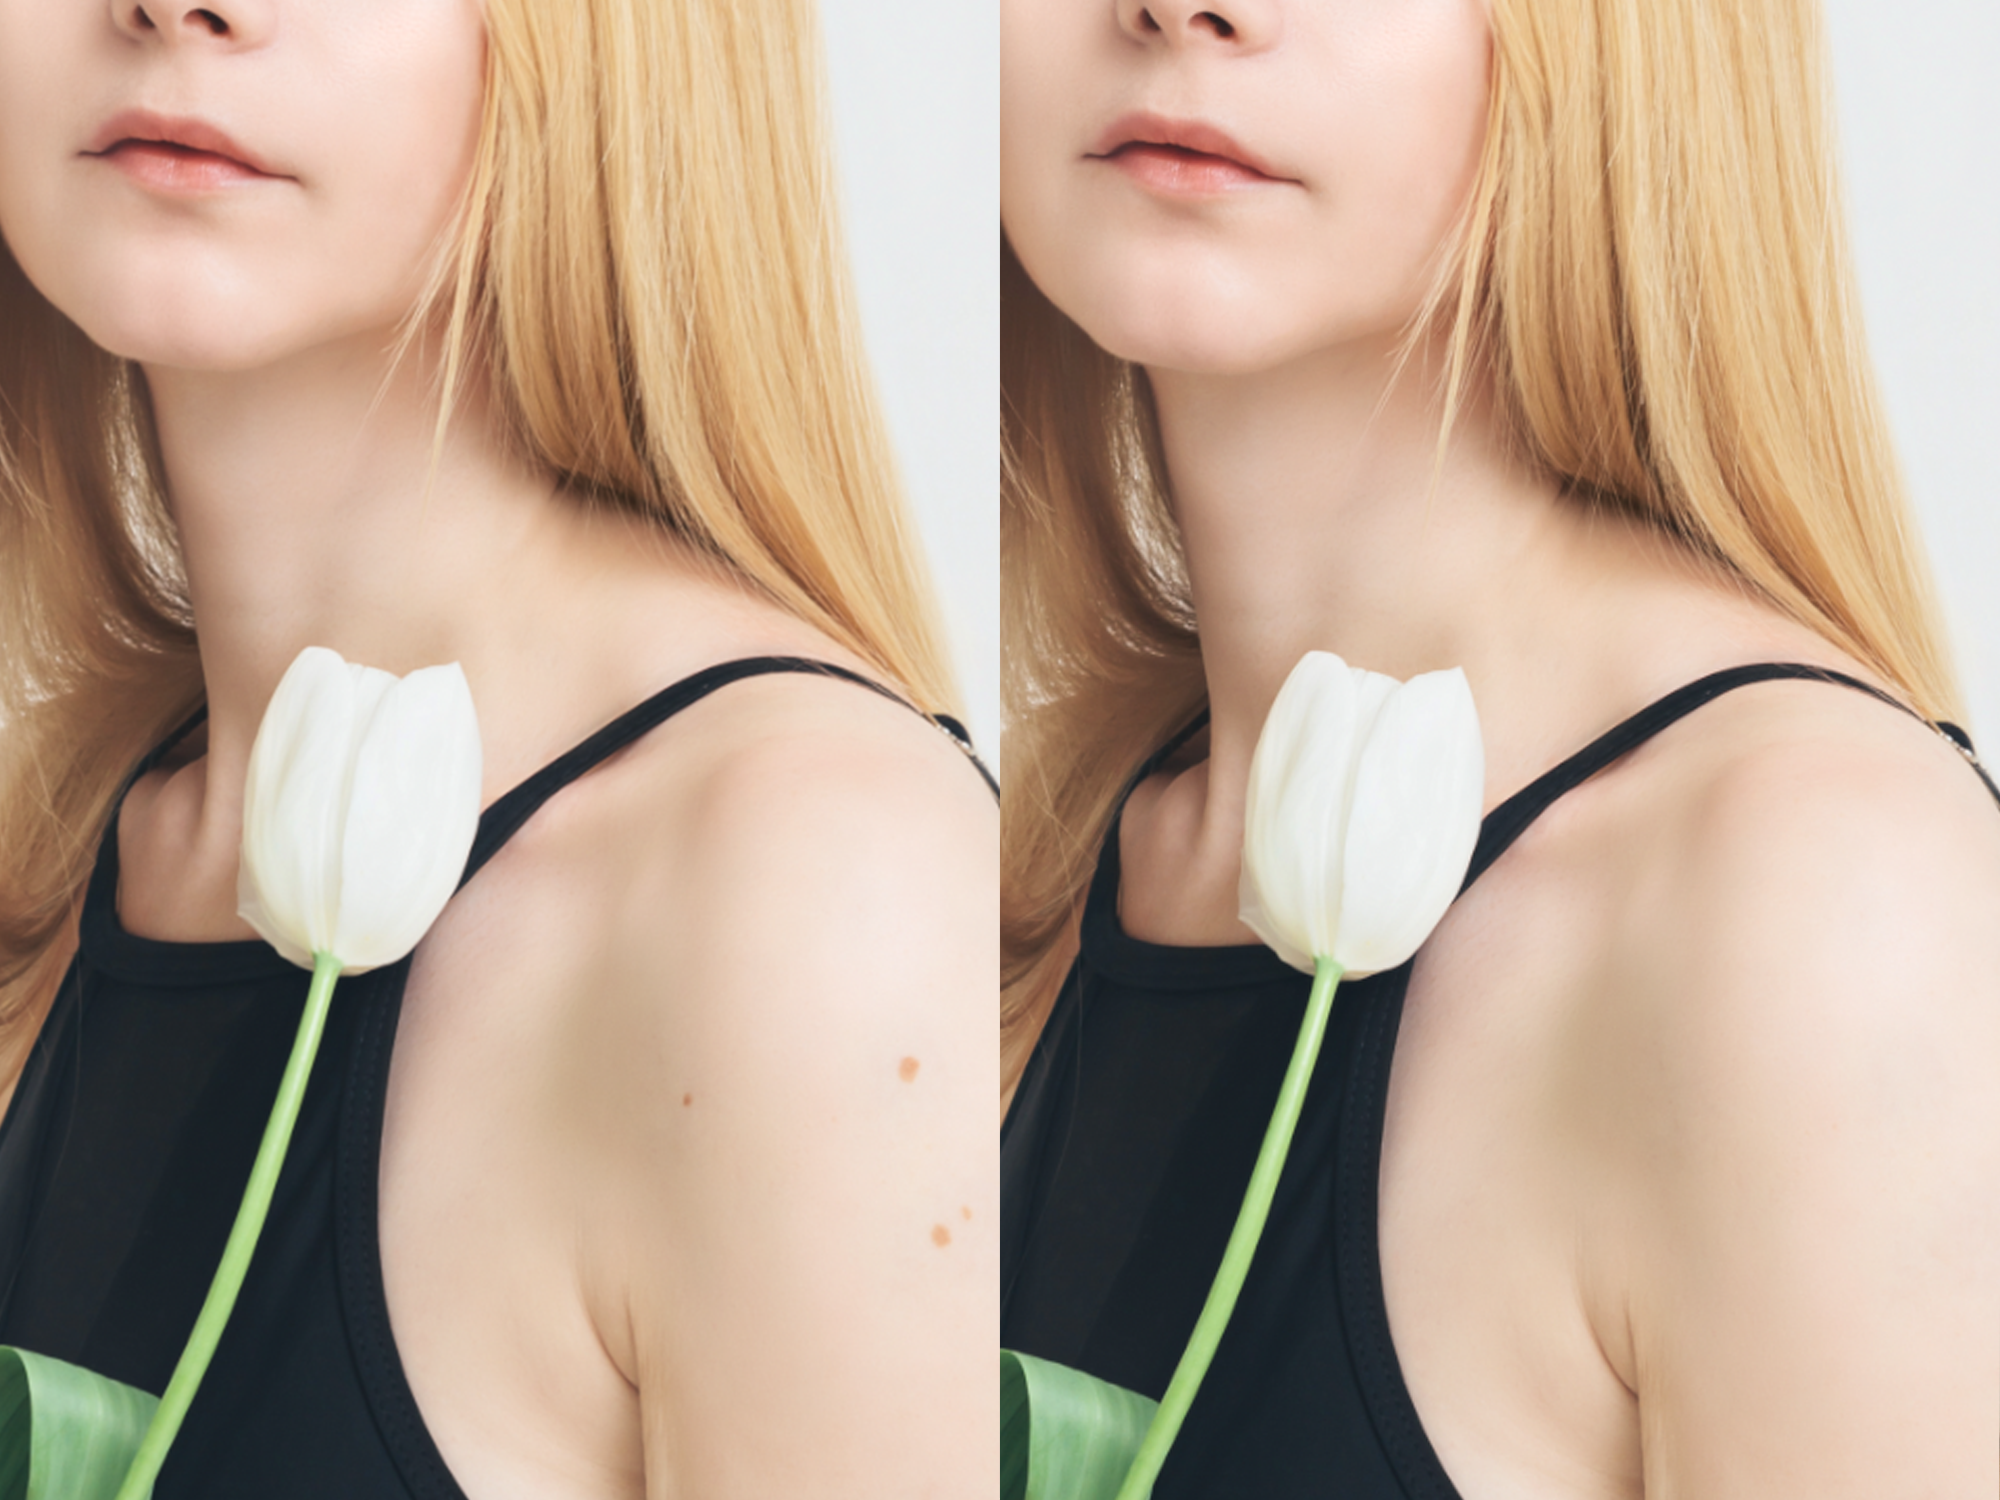
The spot removal tool in Lightroom is the go-to method to deal with annoying or undesirable spots in your photos. Spot removal is frequently used in portrait or modeling photography to improve the appearance of the skin.
This article will help you get started with the Transform panel in the Lightroom Develop module. Buildings are ideal for geometric corrections as they almost always have hard edges and well-defined vertical and horizontal lines. Lightroom can detect lines and edges to the extent that some steps can be automated. I will also demonstrate a second method.
One advantage of using Lightroom as your post-processing tool is that it contains a huge database of camera and lens specific information. No matter how advanced and precise the gear we use is, it is a fact of life that our lens will introduce us to some level of irregularities. These imperfections typically appear in photos in two ways.
The develop module is where photographers spend most of their Lightroom post-processing time. It is conveniently divided into functional panels controlled by tabs on the right hand side of the screen. At the very top, we encounter the basic panel.