Images updated: February 2020
Please note: As of 2019, the Creative Cloud version of Lightroom is simply referred to as "Lightroom", with the Classic version of Lightroom listed as "Lightroom Classic". We use "Lightroom CC" in this article to clearly differentiate from Lightroom Classic, as the "Classic" versions of Lightroom cannot sync presets to mobile via the Creative Cloud.
Important! These instructions are for users who have paid (or pay via subscription) for Adobe Lightroom (CC), which enables the ability to sync Luxe presets between your desktop and mobile apps. For users who only use the free Lightroom Mobile app (no paid access), please follow the instructions to install our DNG presets into your mobile app.
Many of our customers ask about using Luxe presets in their Lightroom Mobile app, and with the recent Adobe release, this is now possible! For users who pay for Adobe Lightroom (CC), here's how to do it:
1. First, make sure you have the latest update of Lightroom (CC) desktop (version 1.4 or later) and Lightroom mobile (version 3.3.0 or later). You can view your version by going to the Help menu in Lightroom (CC) for desktop and selecting System Info. Likewise, you can update your software by navigating to Help > Updates. (This will take you to your Adobe Creative Cloud console.)
2. Depending on which version of Lightroom (CC) you were using prior to upgrade in step 1, setting up the syncing process will vary among users.- For some, if you had previously installed presets in Lightroom CC, your presets will automatically update when you upgrade Lightroom CC.
- For others, your previously installed Lightroom CC presets may be deleted with the upgrade. In this case, you will need to import your presets again. To do this, make sure you have .XMP formatted presets (not .LRTEMPLATE or .LRT format) installed in this location:
- Mac Users: Users > YOUR NAME > Library > Application Support > Adobe > Camera Raw > Settings
On Mac, you may need to press ⌘ + G or shift + ⌘ + G and paste the above path into the Go To sheet, as the User Library folder may not be visible. If you continue to have difficulties finding your user Library folder, please see this article on how to find your user Library folder
- Windows Users: C: > Users- [your user name] > AppData > Roaming > Adobe > Camera Raw >Settings
Some of our PC users have reported hidden user name or AppData files following the Lightroom CC desktop update. Here are directions on how to find hidden files on a PC.
Please note, your presets will already be installed in this location if you use Lightroom Classic version 7.3 or later.
3. Once your presets have been installed in the above location, they can be synced with Lightroom CC by first selecting the Presets button and then clicking on the drop-down menu housed under the three dots. Within the drop-down menu, select Import Presets. Import the presets from the location shown above. As of 2019, you can import entire .zip files containing compatible .XMP presets this way (Lightroom will install any compatible files located in that .zip and reject any incompatible files).


3. Once your presets are installed, double-check to make sure that Lightroom CC is synced by clicking on the cloud icon.

4. Your presets are now synced with Lightroom mobile!
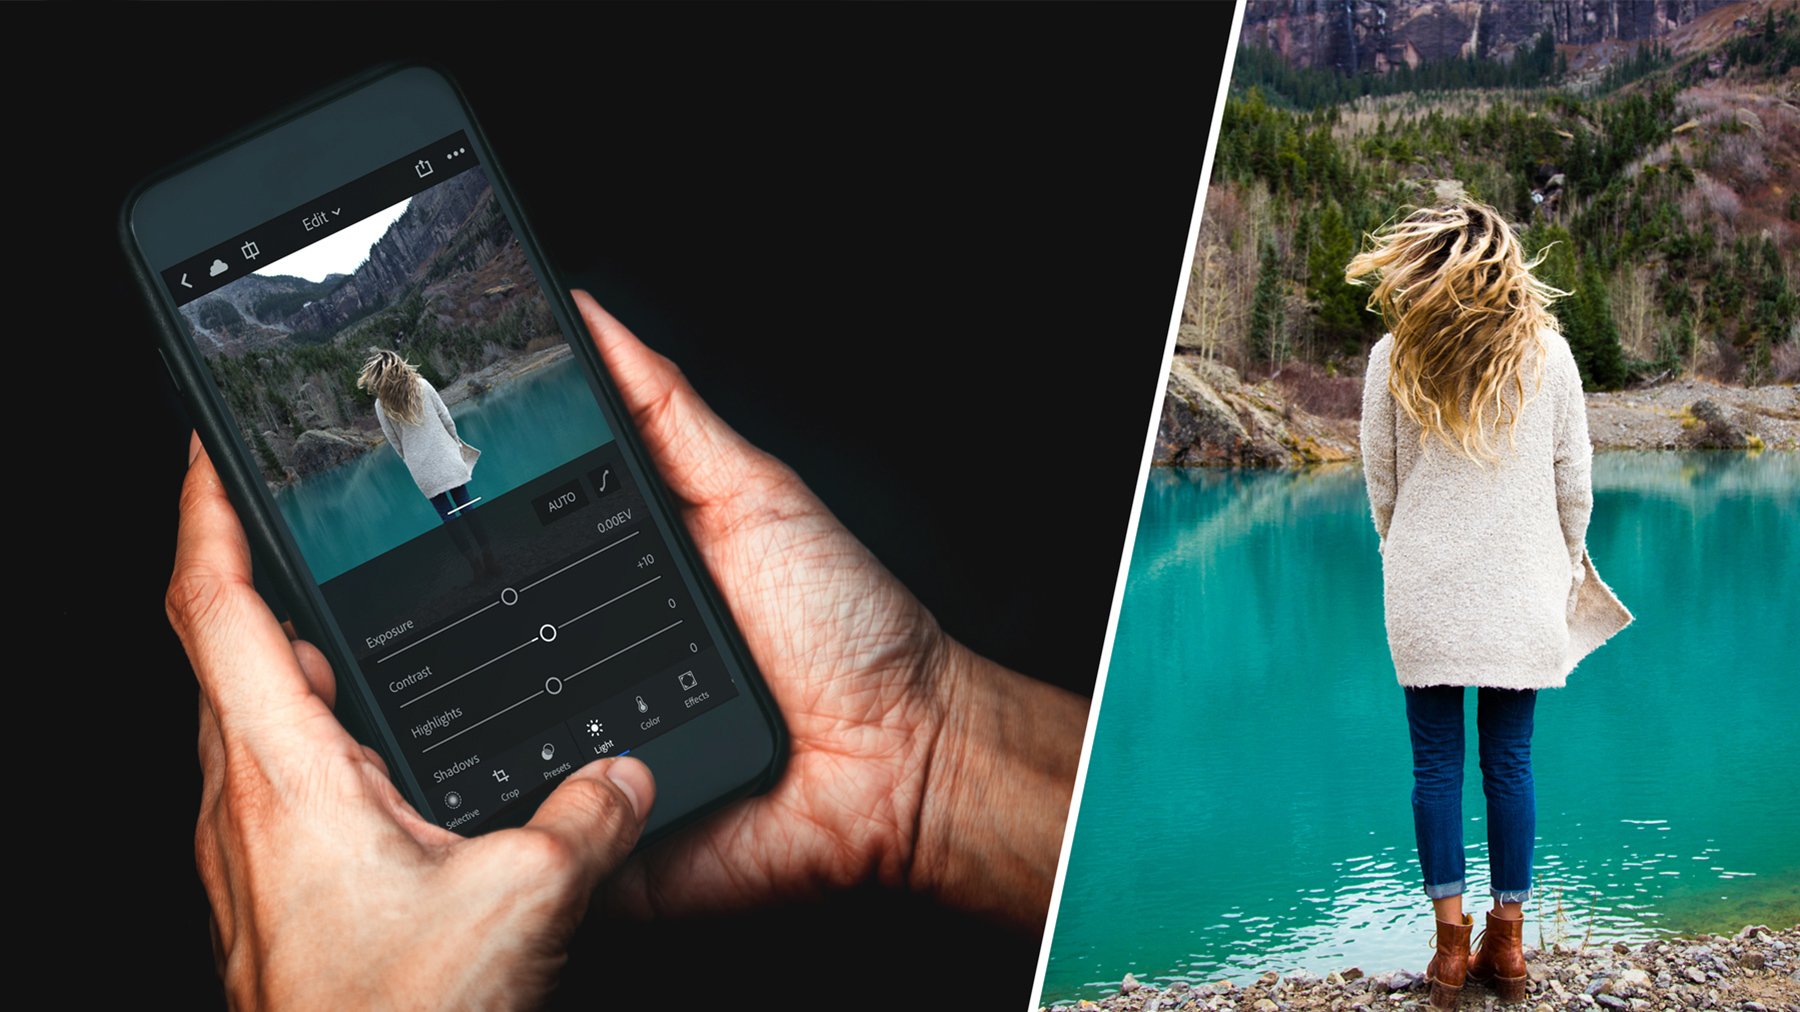
5. To apply presets in Lightroom mobile, simply open a picture, select edit from the drop-down menu, and then select the presets button.

Troubleshooting Tip: If you cannot find your presets in Lightroom mobile after checking your Creative Cloud Sync, you may not be logged into the Adobe account associated with your desktop subscription. Make sure to log-in with the same Adobe account across devices you wish to sync.
Related Links: